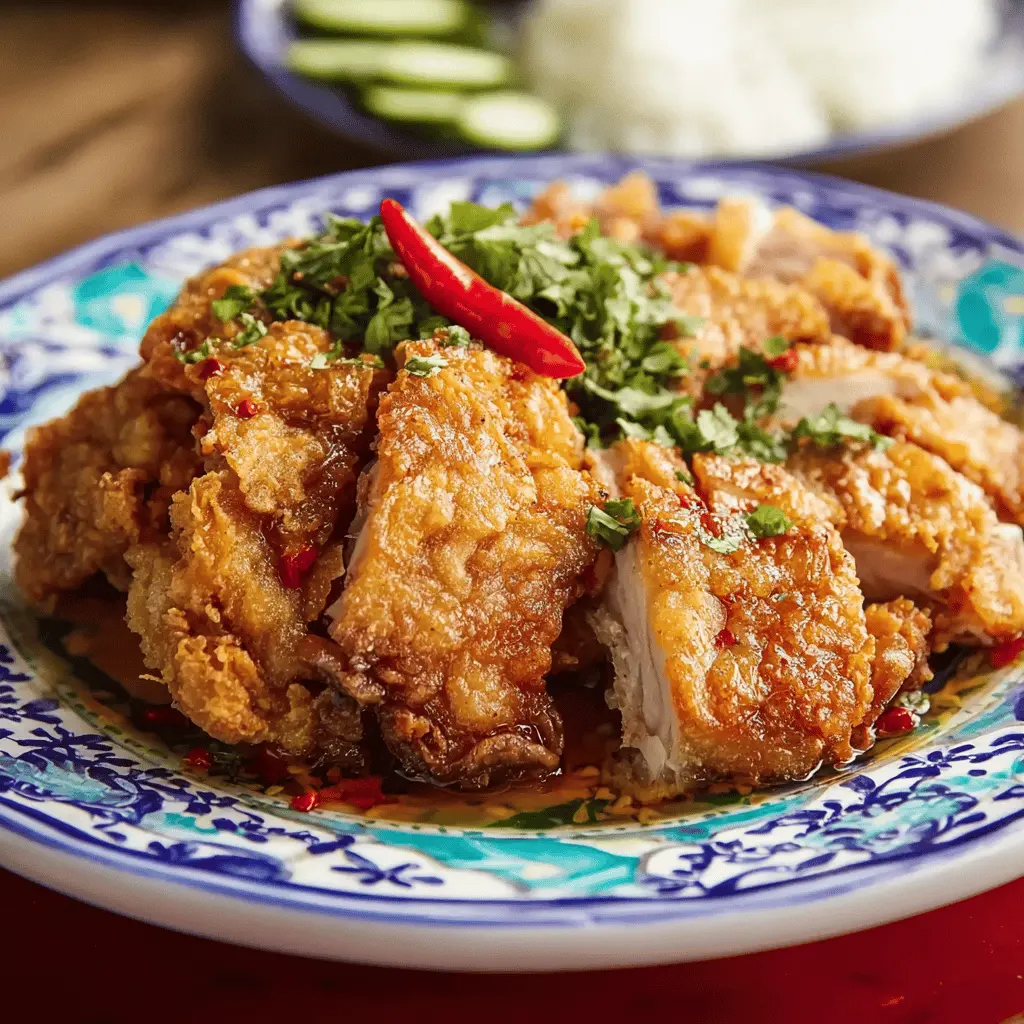
This Crispy Gai Tod is Thai fried chicken that’s super crunchy on the outside and juicy on the inside. It’s seasoned with tasty Thai spices that make it irresistible!
It’s perfect for sharing or just enjoying alone! I can’t help but sneak bites straight from the fryer—I mean, who can resist that crunch? 😄
I love pairing this yummy chicken with a sweet chili dipping sauce. It’s so easy to make, and you’ll want to make it again and again for friends and family!
Key Ingredients & Substitutions
Chicken: Skin-on drumsticks or thighs are best for juicy meat and crispy skin. If you’re looking for a healthier option, you can use skinless chicken, but it won’t be as crispy.
Garlic: Fresh garlic gives the best flavor. If you’re in a pinch, garlic powder works too, but fresh really brings out the aromatic quality.
Fish Sauce: This adds the unique umami taste. If you need a substitute, soy sauce is a good option, but it will change the flavor slightly.
Flours: Rice flour makes the chicken crunchier than just using all-purpose flour alone. If you don’t have rice flour, cornstarch is a solid substitute for a crispy coating.
Turmeric: While it adds a lovely golden color, it’s optional. Feel free to skip it if you don’t have any in your pantry.
Why is Marinating Important for Flavor?
Marinating the chicken infuses it with flavor and helps tenderize it. The longer you marinate, the better your chicken will taste. I usually go for at least a few hours, but overnight is ideal for maximum flavor!
How Do You Get the Perfect Crunch?
Getting that crispy texture is all about the coating and frying technique. Here’s how to do it:
- Use both all-purpose flour and rice flour (or cornstarch) for the best crunch.
- Make sure the oil is hot enough (around 350°F or 175°C). If it’s not hot enough, the chicken will absorb too much oil and be greasy.
- Don’t overcrowd the pan! Fry in batches to keep the oil temperature consistent.
Once done, let the fried chicken drain on paper towels to remove excess oil. This keeps it crispy for longer!
How to Make Crispy Gai Tod (Thai Fried Chicken)
Ingredients You’ll Need:
For the Chicken Marinade:
- 2 pounds (about 900g) chicken pieces (drumsticks or thighs, skin-on)
- 2 teaspoons garlic, finely minced
- 1 teaspoon white pepper powder
- 1 tablespoon soy sauce
- 1 tablespoon fish sauce
- 1 teaspoon sugar
- 1 teaspoon ground coriander
- 1/2 teaspoon turmeric powder (optional, for color)
For the Coating:
- 1 cup all-purpose flour
- 1/2 cup rice flour (or cornstarch)
- 1 teaspoon baking powder
For Frying:
- Vegetable oil (for deep frying)
How Much Time Will You Need?
This crispy Thai fried chicken recipe requires about 20 minutes of active preparation time. However, marinating the chicken is important for the best flavor. Aim for at least 1 hour, or preferably 3-4 hours or overnight. Add about 30 minutes for frying. In total, you’re looking at about 1.5 hours to 5 hours depending on marinating time!
Step-by-Step Instructions:
1. Prepare the Marinade:
In a large bowl, mix the minced garlic, white pepper, soy sauce, fish sauce, sugar, ground coriander, and turmeric powder together. This will be the tasty marinade that gives the chicken great flavor!
2. Marinade the Chicken:
Add the chicken pieces into the marinade. Make sure each piece is really well coated. Cover the bowl with plastic wrap or a lid and refrigerate. Let it marinate for at least 1 hour, but if you have time, let it go for 3-4 hours or overnight for really strong flavor.
3. Prepare the Coating:
In a separate bowl, whisk together the all-purpose flour, rice flour (or cornstarch), and baking powder. This mixture will create that delicious crunchy coating!
4. Coat the Chicken:
After marinating, take the chicken out of the fridge and allow excess marinade to drip off. Take each piece and dredge it in the flour mixture, pressing down gently to ensure the coating sticks well.
5. Heat the Oil:
In a deep frying pan or wok, heat vegetable oil over medium-high heat. You want the oil to reach about 350°F (175°C) for perfect frying.
6. Fry the Chicken:
Fry the chicken pieces in batches so you do not overcrowd the pan. Fry each piece for about 8-12 minutes, turning it occasionally until it’s golden brown and cooked through. You can check for doneness by ensuring the juices run clear when pierced.
7. Drain the Chicken:
Once fried, use a slotted spoon to carefully remove the chicken and let it drain on paper towels to remove excess oil and keep it crispy.
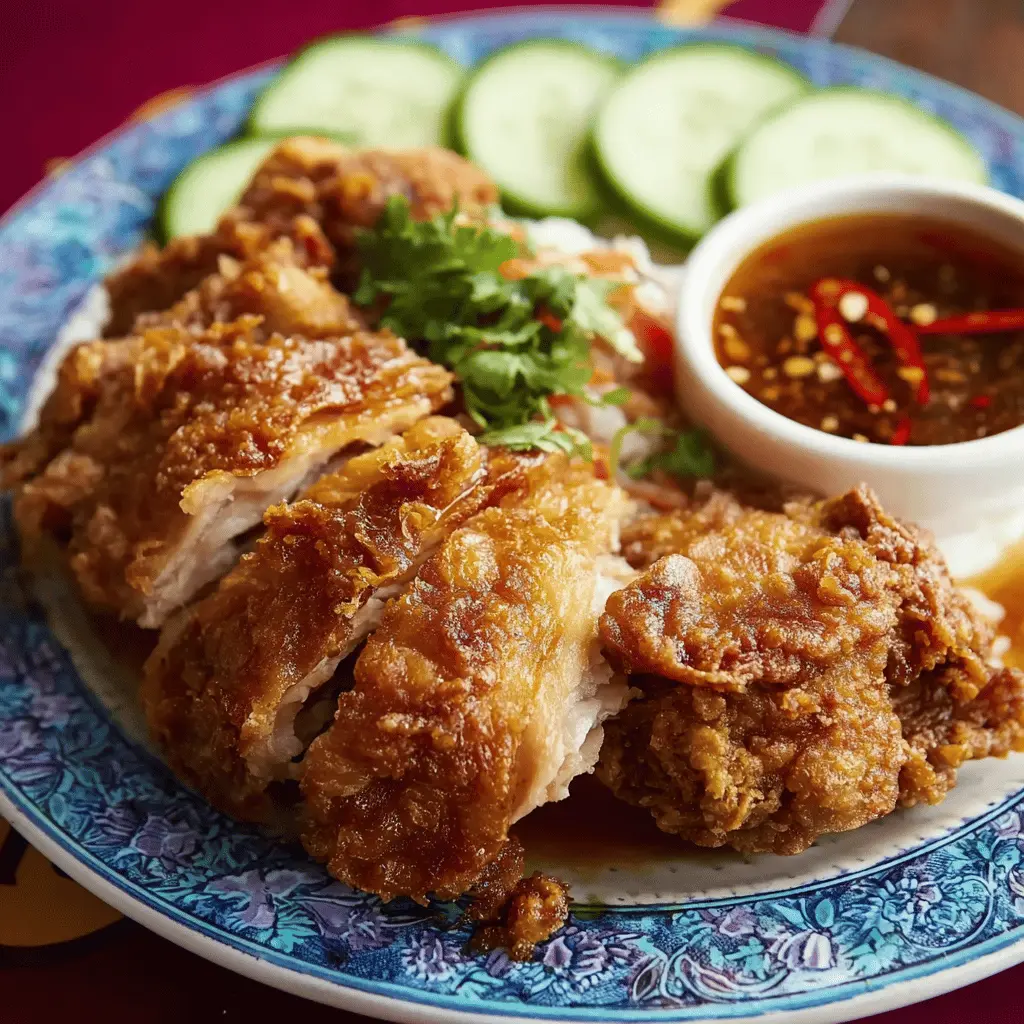
8. Serve and Enjoy:
Serve your crispy gai tod hot, alongside sweet chili sauce and lime wedges for dipping. Enjoy this delicious treat!
Happy cooking, and enjoy your crispy, flavorful Thai fried chicken!
FAQs for Crispy Gai Tod (Thai Fried Chicken)
Can I Use Bone-In Chicken Breast Instead of Thighs or Drumsticks?
Yes, you can use bone-in chicken breasts, but keep in mind that they may take a bit longer to cook through. Make sure to check for doneness with a meat thermometer; it should read 165°F (74°C). Additionally, the skin may not be as crispy as with thigh or drumstick pieces.
Can I Make This Recipe Gluten-Free?
Absolutely! To make a gluten-free version, simply substitute the all-purpose flour with a gluten-free flour blend and ensure your soy sauce is gluten-free (look for tamari). Rice flour naturally is gluten-free, so that should work perfectly!
How Can I Store Leftover Crispy Gai Tod?
Store any leftovers in an airtight container in the fridge for up to 3 days. To reheat, place the chicken in an oven preheated to 375°F (190°C) for about 10-15 minutes to help retain the crispiness.
What Sauce Pairs Best with This Fried Chicken?
Traditional Thai sweet chili sauce is an excellent choice for dipping! If you’re looking for something different, a spicy peanut sauce or even a tangy lime and chili sauce would also work beautifully!