
These Healthy Dairy Free Klondike Bars are a tasty treat that you can enjoy without the guilt! Made with creamy coconut milk and a hint of vanilla, they’re perfect for satisfying your sweet tooth.
I love keeping these bars in my freezer for hot days. They’re easy to make and always ready to cool me down. Plus, they’re a hit with both kids and adults—everyone loves a good ice cream bar! 🍦
Key Ingredients & Substitutions
Unsweetened Shredded Coconut: This gives the bars their base and creamy texture. If you prefer a different flavor, try using finely ground almond flour or cashew nuts instead. Though it changes the texture, it can still be delicious!
Coconut Oil: It adds healthy fats and helps set the coconut mixture. If you’re not a fan, you can use any neutral oil like avocado oil. Just keep in mind that it might not give the same coconut flavor.
Maple Syrup or Agave Nectar: This sweetens the bars naturally. Coconut sugar is a great alternative; just use a bit less since it’s less sweet. Honey is also an option if not strictly vegan.
Dairy-Free Dark Chocolate Chips: These are essential for coating. If you don’t have dairy-free ones, look for carob chips or make a homemade chocolate using cocoa powder and coconut oil.
How Can I Get the Perfect Chocolate Coating?
Coating your bars in chocolate should be simple and fun! Here’s what to keep in mind:
- Make sure your chocolate is melted smoothly to avoid clumps. Stirring frequently helps!
- Dip quickly but be thorough. Cover every side for a nice finish. A fork can help with dipping.
- Let excess chocolate drip off to prevent thick layers.
- Using a parchment-lined tray helps prevent sticking as they set.
With practice, you’ll get the hang of it, and your bars will look as good as they taste!
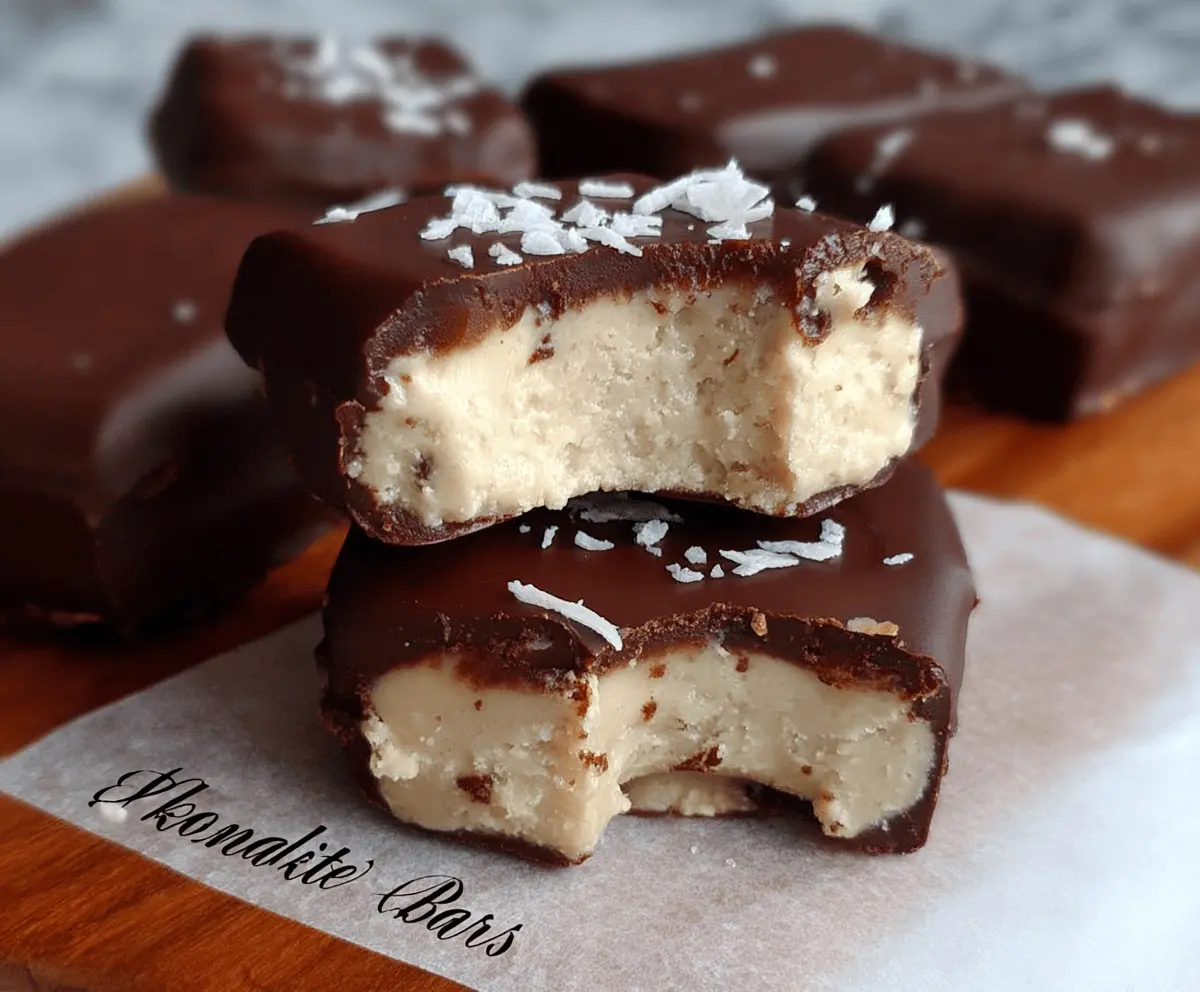
Healthy Dairy Free Klondike Bars
Ingredients You’ll Need:
- 2 cups unsweetened shredded coconut
- 1/4 cup coconut oil, melted
- 1/4 cup maple syrup or agave nectar
- 1 tsp vanilla extract
- Pinch of salt
- 1 1/2 cups dairy-free dark chocolate chips
- 1 tbsp coconut oil (for chocolate coating)
- Flaky sea salt (optional, for topping)
How Much Time Will You Need?
This recipe will take about 20 minutes of active preparation time, plus 1 hour for the coconut mixture to set in the freezer, and an additional 30 minutes for the chocolate coating to harden. In total, you’re looking at around 2 hours to complete this delicious treat, most of which is waiting time.
Step-by-Step Instructions:
1. Make the Coconut Base:
Start by adding the unsweetened shredded coconut, melted coconut oil, maple syrup, vanilla extract, and a pinch of salt into a food processor. Blend the ingredients together until they form a sticky mixture that can hold together when pressed. This usually takes about 1-2 minutes.
2. Prepare the Dish:
Line an 8×8-inch square baking dish with parchment paper for easy removal later. Pour the coconut mixture into the lined dish and use a spatula or your hands to press it down firmly and evenly. Make sure it’s nicely compacted to help the bars hold their shape!
3. Freeze the Coconut Layer:
Once pressed into the dish, place the baking dish in the freezer for at least 1 hour. This will allow the coconut mixture to set and firm up, making it easier to cut into bars later.
4. Cut the Bars:
After the coconut layer is firm, remove the dish from the freezer. Use a sharp knife to cut the coconut base into square bars, approximately 2×2 inches in size. Set these aside on a plate or tray.
5. Melt the Chocolate:
In a microwave-safe bowl or using a double boiler, melt the dairy-free dark chocolate chips with the tablespoon of coconut oil until smooth and silky. Stir often to avoid burning the chocolate.
6. Coat the Bars:
Dip each coconut bar into the melted chocolate, making sure to coat it thoroughly on all sides. Allow any excess chocolate to drip off and then place the coated bar on a parchment-lined tray. Repeat this process with all coconut bars.
7. Add Toppings:
If you’d like, sprinkle a little flaky sea salt on top of each chocolate-coated bar before the chocolate sets, giving an extra touch of flavor.
8. Chill and Set:
Place the tray of coated bars back into the freezer for about 20-30 minutes, or until the chocolate is completely hardened.
9. Store and Enjoy:
Once set, transfer the Healthy Dairy Free Klondike Bars to an airtight container and keep them stored in the freezer. Enjoy these scrumptious treats whenever you’re craving a sweet, cold snack!
These bars are creamy and indulgent, yet healthy and dairy-free, making them a perfect dessert for all occasions!
img src=”https://creativedinnerideas.com/wp-content/uploads/2025/09/healthy-dairy-free-klondike-bars.webp” alt=””>
Can I Use Different Sweeteners in This Recipe?
Absolutely! You can swap out maple syrup for honey, agave nectar, or even coconut sugar. Just keep in mind that if using coconut sugar, you may want to reduce the amount slightly since it’s less sweet.
What If I Don’t Have a Food Processor?
No problem! You can use a high-speed blender to combine the ingredients. If that’s not an option, you can finely chop the coconut by hand and mix the ingredients in a bowl, using a sturdy spatula to ensure everything sticks together.
How Do I Store These Klondike Bars?
Store the bars in an airtight container in the freezer for up to a month. Just make sure to separate layers with parchment paper to prevent them from sticking together!
Can I Customize the Flavor?
Definitely! You can add in flavor extracts like almond or mint or mix in some crushed nuts or berries to the coconut layer for added texture and flavor. Feel free to get creative!