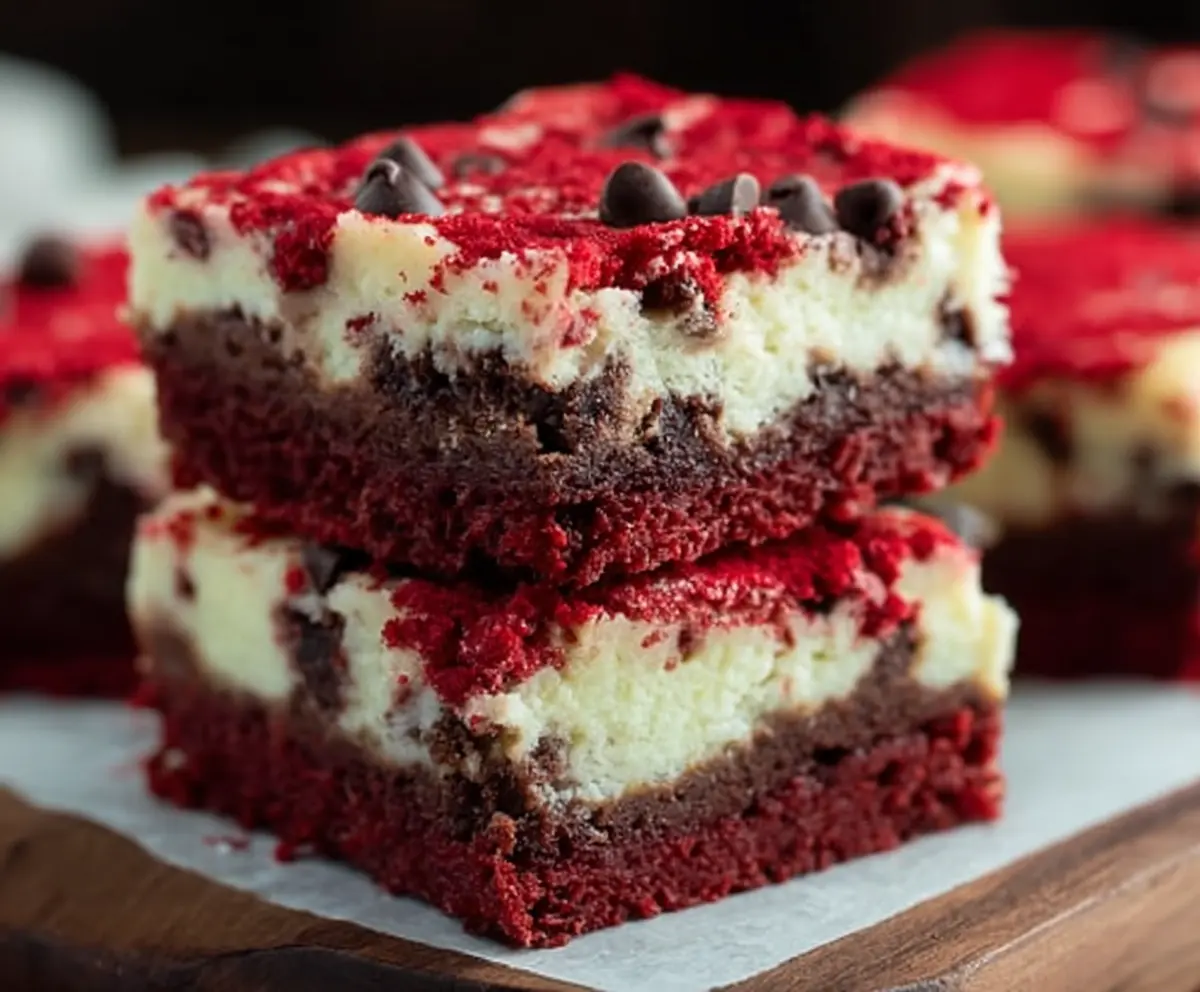
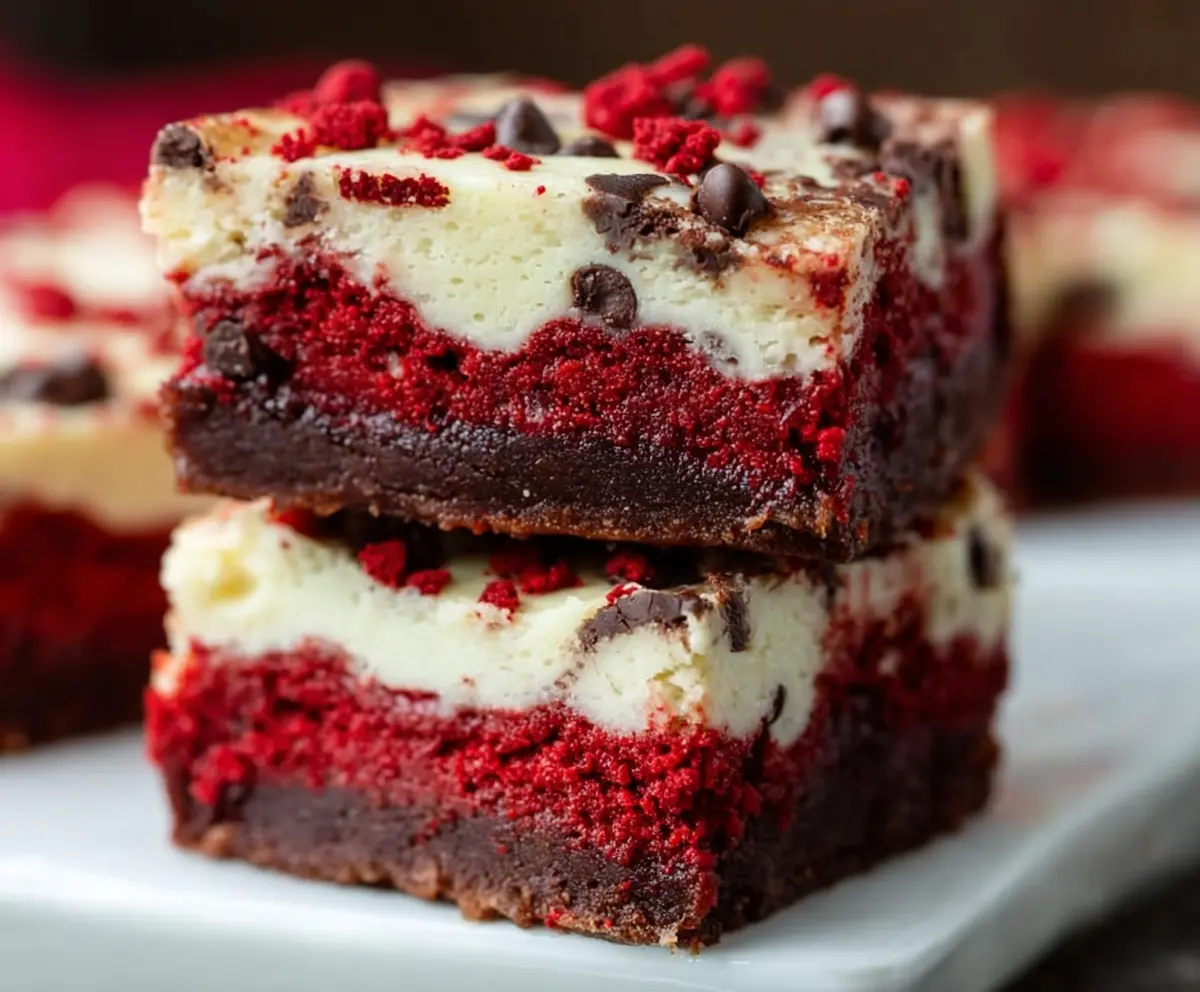
These Red Velvet Chocolate Chip Cheesecake Bars are a fun twist on traditional cheesecake! With a rich red velvet base and creamy chocolate chips, they are a treat for the eyes and the taste buds.
I love how easy they are to slice and serve. Perfect for parties or just when you’re in the mood for something sweet. Plus, they look so fancy, you’ll feel like a baking superstar! 🎉
Key Ingredients & Substitutions
All-Purpose Flour: This is essential for the texture of the base. If you’re gluten-free, try a 1:1 gluten-free flour blend which works pretty well in most recipes.
Red Food Coloring: This gives the vibrant color. You can use natural food coloring if you prefer. Beet juice works, too, though it may give a different shade.
Buttermilk: It adds moisture and tanginess. If you don’t have buttermilk, mix 1/2 cup milk with 1/2 tablespoon of vinegar or lemon juice. Let it sit for 5 minutes to curdle.
Mini Chocolate Chips: These add delicious bites of chocolate. You can swap them for dark, white, or even peanut butter chips if you like a different flavor.
How Do You Get the Cheesecake Layer to Be Creamy and Smooth?
The cheesecake layer is super important for the overall flavor and texture, so let’s make sure it turns out just right! Here’s how to get that creamy, smooth texture:
- Make sure your cream cheese is at room temperature. It should be soft to blend easily.
- Beat the cream cheese and sugar really well until it’s completely smooth before adding anything else.
- Add the egg and vanilla extract separately and mix until just combined. Overmixing can incorporate too much air, which can lead to cracks.
- When you fold in the chocolate chips, do it gently to keep the texture smooth.
Red Velvet Chocolate Chip Cheesecake Bars
Ingredients You’ll Need:
For the Red Velvet Base:
- 1 ½ cups all-purpose flour
- 1 cup granulated sugar
- 1/4 cup unsweetened cocoa powder
- 1/2 teaspoon baking soda
- 1/4 teaspoon salt
- 3/4 cup vegetable oil
- 1 large egg
- 1 tablespoon red food coloring
- 1 teaspoon vanilla extract
- 1/2 cup buttermilk
- 1 teaspoon white vinegar
For the Cheesecake Layer:
- 16 oz (450 g) cream cheese, softened
- 2/3 cup granulated sugar
- 1 large egg
- 1 teaspoon vanilla extract
- 1/2 cup mini chocolate chips (plus extra for topping)
How Much Time Will You Need?
This delicious recipe takes about 20 minutes of prep time, followed by around 35-40 minutes for baking. Don’t forget to chill it for at least 2 hours, making the total time about 3 hours. But trust me, the wait is worth every bite!
Step-by-Step Instructions:
1. Preheat the Oven and Prepare the Pan:
Start by preheating your oven to 350°F (175°C). Then, grab a 9×9-inch square baking pan. Line it with parchment paper or grease it lightly to prevent sticking.
2. Make the Red Velvet Base:
In a medium bowl, whisk together the flour, sugar, cocoa powder, baking soda, and salt until everything is well combined. In another larger bowl, mix the vegetable oil, egg, red food coloring, vanilla extract, buttermilk, and white vinegar together. Whisk until the mixture is smooth. Gradually stir in the dry ingredients until just combined—don’t overmix!
3. Spread the Batter:
Pour the red velvet batter into your prepared pan, spreading it out evenly. This will be the base for your cheesecake layer!
4. Prepare the Creamy Cheesecake Layer:
In a mixing bowl, beat the softened cream cheese and sugar together until creamy and smooth—make sure there are no lumps. Add in the egg and vanilla extract, and beat until everything is nicely combined. Finally, gently fold in the mini chocolate chips.
5. Layer and Bake:
Pour this cheesecake mixture over the red velvet base, spreading it out evenly. If you like, sprinkle a few extra mini chocolate chips on top for a little extra sweetness. Bake in the oven for about 35-40 minutes, or until the cheesecake layer is set and the edges start to pull away from the pan without overbaking.
6. Cool and Chill:
Once baked, remove from the oven and let it cool completely in the pan on a wire rack. Cover it and chill in the refrigerator for at least 2 hours. This step will help the bars firm up and make slicing easier!
7. Serve and Enjoy:
When you’re ready, slice into squares and serve them chilled or at room temperature. Enjoy these delicious Red Velvet Chocolate Chip Cheesecake Bars with friends or as a delightful dessert for any occasion!
Can I Use a Different Type of Flour for This Recipe?
Yes, you can use a gluten-free flour blend in place of all-purpose flour if you’re looking for a gluten-free option. Just make sure it’s a 1:1 substitution to maintain the right texture.
How Should I Store Leftover Bars?
Store any leftover Red Velvet Chocolate Chip Cheesecake Bars in an airtight container in the refrigerator. They’ll stay fresh for up to 4 days. You can also freeze them wrapped tightly in plastic wrap and foil for up to 2 months; just thaw in the fridge when ready to eat!
Can I Make These Bars Dairy-Free?
Yes! Use dairy-free cream cheese and substitute the buttermilk with a non-dairy milk mixed with 1/2 tablespoon of vinegar or lemon juice. Additionally, make sure your chocolate chips are dairy-free.
What Can I Serve These Bars With?
These bars are delicious on their own, but you can serve them with a scoop of ice cream, a drizzle of chocolate sauce, or even some whipped cream for an extra special treat!