Two-tone no-churn ice cream is one of those desserts that looks playful in the pan and tastes even better on the spoon. The strawberry side stays bright and fruity, the blueberry side turns softly tangy, and the whole thing freezes into creamy scoops without an ice cream maker. It’s the kind of treat that feels special with almost no moving parts, which is exactly why it earns a spot when you want something cold, colorful, and reliable.
The trick here is keeping each base light before the puree goes in. Heavy cream needs to be beaten to stiff peaks so the ice cream freezes with a smooth, scoopable texture instead of turning dense and icy. The sweetened condensed milk does the heavy lifting for sweetness and body, while the fruit puree adds color and flavor without watering the base down too much. That balance matters. Too much puree or too little whipping, and you lose the creamy finish that makes no-churn ice cream work.
Below, I’ll walk through the little details that keep the two layers distinct in the pan, plus the best way to store it so the scoops come out clean instead of crumbly.
The strawberry and blueberry layers both froze up creamy, not icy, and the colors looked gorgeous when I scooped from both sides. My kids thought it was a party dessert.
Save this red and blue ice cream for the days when you want a no-churn dessert with bold strawberry and blueberry layers.
The Reason No-Churn Ice Cream Stays Creamy Instead of Icy
No-churn ice cream lives or dies on the whipped cream. If you stop too early, the base won’t hold enough air and the final texture turns heavy. Beat the cream until it forms stiff peaks that stand tall when you lift the beaters. That structure is what keeps the frozen dessert soft enough to scoop after hours in the freezer.
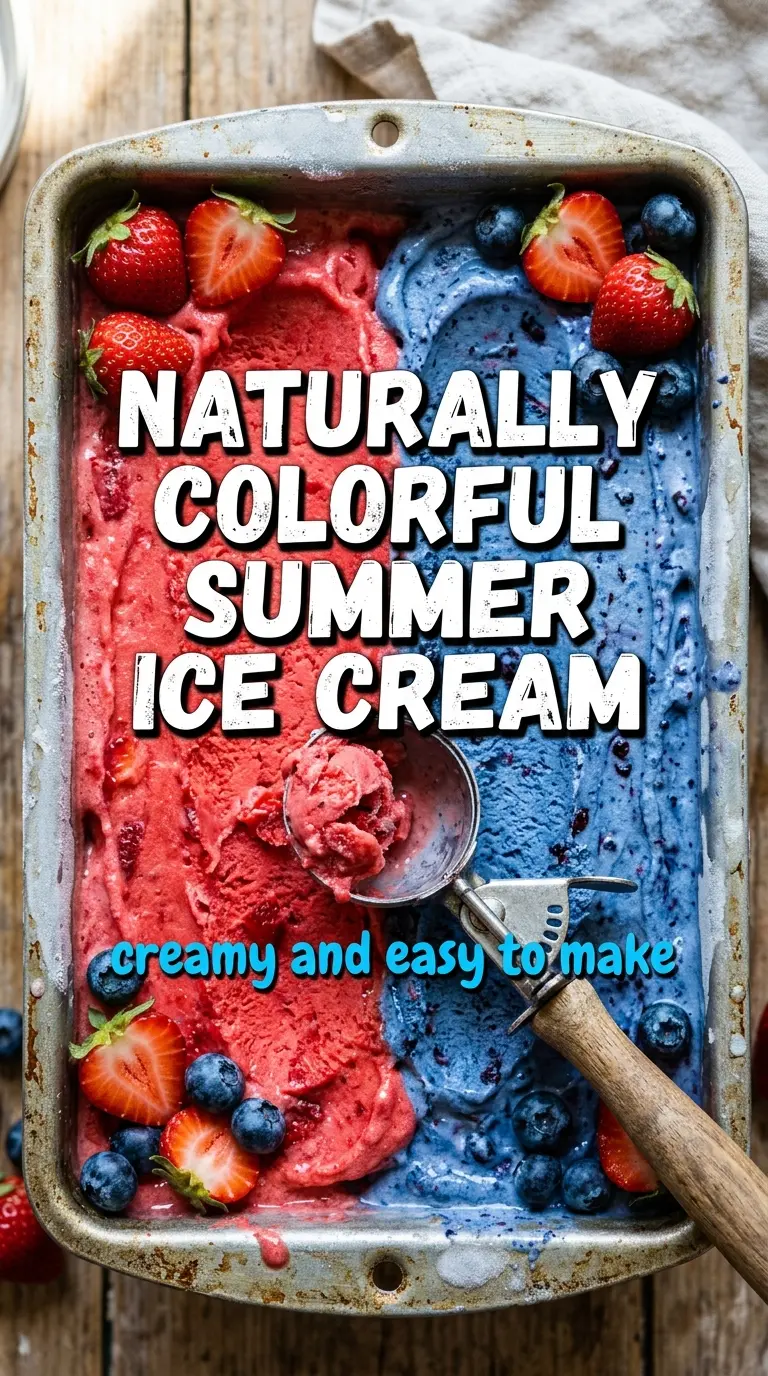
The other common mistake is overloading the mixture with fruit. Strawberry and blueberry purées bring flavor and color, but they also add water. Here, the condensed milk gives body and sweetness while the fruit stays in a manageable amount, so the mixture freezes into clean layers instead of slushy pockets.
- Heavy whipping cream — Use the coldest cream you have. It whips faster and holds its shape longer, which matters when you’re folding in two different fruit mixtures.
- Sweetened condensed milk — This is what makes no-churn ice cream work. There isn’t a true substitute here that gives the same creamy, scoopable texture, though you can use a dairy-free condensed milk if you need a dairy-free version.
- Vanilla extract — The vanilla rounds out the fruit and keeps the base from tasting one-note. A good pure vanilla is worth using, but this is one place where a standard grocery-store bottle is fine.
- Strawberry and blueberry purées — Cooked and strained purées keep the ice cream smoother than chunky fruit. If your berries are very juicy, simmer the purée briefly to thicken it before folding it in.
How to Fold the Fruit In Without Deflating the Base
Whipping the Cream to Stiff Peaks
Beat one cup of cream until the whisk leaves deep trails and the peaks stand straight up without drooping. If the cream is underwhipped, it folds into the condensed milk like soup and you lose the airy texture. Stop as soon as it holds shape; if it looks dry or grainy, you’ve gone too far and the final ice cream can taste fluffy instead of creamy.
Building Two Separate Bowls
Divide the condensed milk and vanilla evenly before adding the fruit, then fold each puree into its own bowl. Use a wide spatula and gentle strokes from the bottom up. Stirring hard knocks out the air you just built, and that’s where dense, frozen dessert starts to happen.
Filling the Loaf Pan
Spoon the strawberry mixture into one side of the loaf pan and the blueberry mixture into the other. Smooth each side lightly so the top is level, but don’t swirl them together unless you want a marbled look. A tight cover matters here because uncovered ice cream picks up freezer smells and forms icy crystals on the surface.
Freezing Until Firm
Freeze the pan for at least 6 hours, and give it longer if the center still feels soft when you press it with a spoon. The middle is always the last part to set, especially in a deep loaf pan. If you scoop too early, the edges will look ready while the center smears instead of lifting into a clean ball.
How to Adapt This for Different Berries and Different Diets
Make It Dairy-Free
Swap in a full-fat coconut whipping cream and a dairy-free sweetened condensed milk. The texture will still be creamy, though the coconut flavor will show up in the background. It works best if you like a little tropical note with the berries.
Use Raspberries or Blackberries Instead
Either berry can replace the blueberry side, but strain out the seeds if you want a smoother scoop. Raspberries bring sharper brightness, while blackberries give a deeper color and a slightly earthier finish.
Turn It Into One Flavor
If you’d rather skip the two-tone look, double one fruit purée and use it for the whole batch. The texture stays the same, but the final ice cream tastes more focused and a little less playful.
Storage and Reheating
- Refrigerator: Don’t store this in the fridge; it will melt into a loose cream base and lose its structure.
- Freezer: Keeps well for about 2 weeks in a tightly covered loaf pan or airtight container. After that, the texture starts to turn a little more icy.
- Reheating: Let it sit at room temperature for 5 to 10 minutes before scooping. If it’s rock hard, the spoon will scrape instead of glide and you’ll think the texture is off when it just needs a short rest.
Answers to the Questions Worth Asking
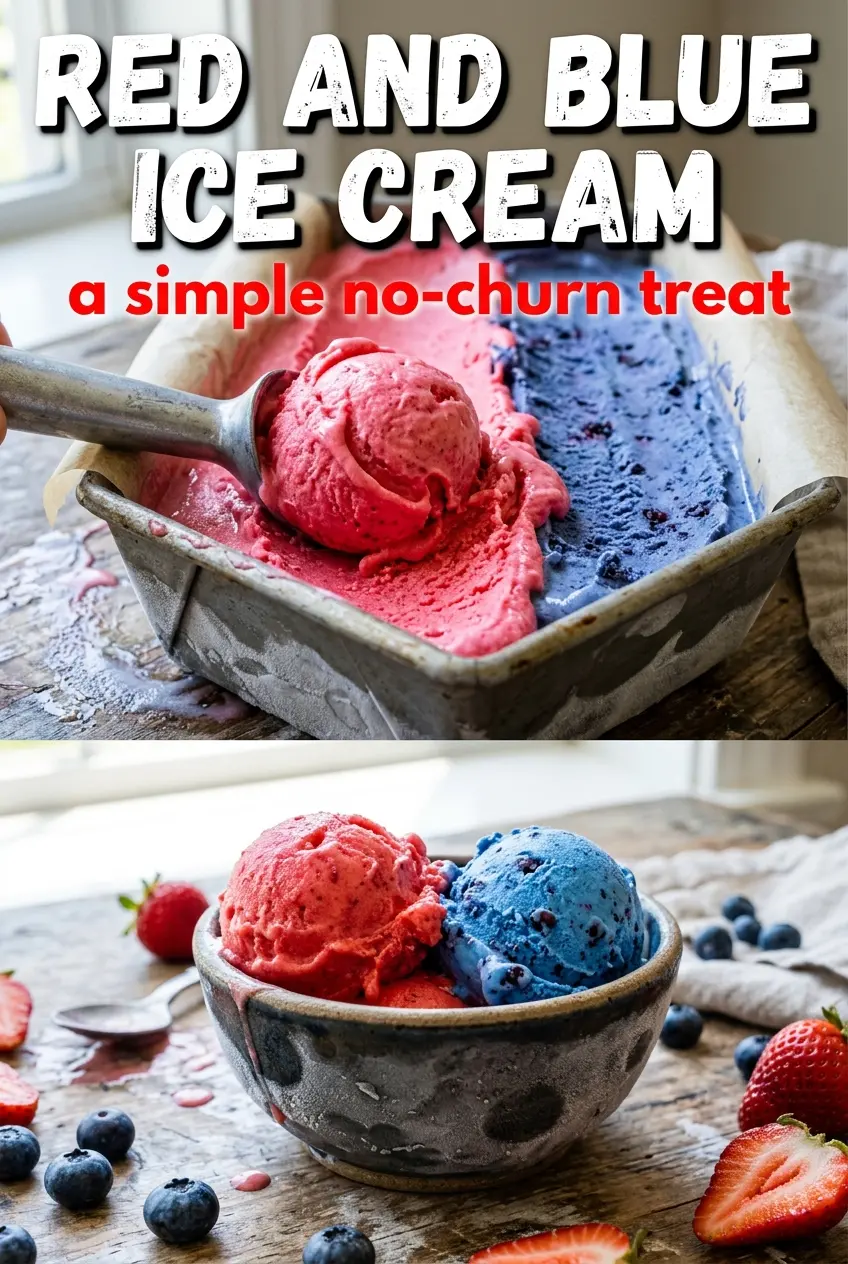
Red and Blue Ice Cream
Ingredients
Method
- In a bowl, beat 1 cup heavy whipping cream to stiff peaks until the mixture holds clear ridges when the beaters are lifted; for best texture, stop at stiff peaks and avoid grainy overmixing.
- Fold in half the sweetened condensed milk, half the vanilla extract, and the strawberry puree until smooth and evenly colored with no streaks.
- In a second bowl, beat the remaining 1 cup heavy whipping cream to stiff peaks, again stopping when ridges hold shape.
- Fold in the remaining sweetened condensed milk, the remaining vanilla extract, and the blueberry puree until smooth and uniformly blue.
- Pour the strawberry mixture into one half of a loaf pan and the blueberry mixture into the other half, then smooth the tops so the layers stay distinct.
- Cover the pan tightly with plastic wrap or a lid to prevent ice crystals from forming.
- Freeze for at least 6 hours, or until firm, so scoops hold their shape when served.
- Scoop from both sides to serve the red-and-blue two-tone ice cream, keeping the layers intact for clean contrast.