Flaky cheddar crust, juicy tomatoes, and melted mozzarella turn this tart into the kind of dish that disappears while it’s still warm on the counter. The crust bakes up sturdy enough to hold the tomatoes without going soggy, and the sharp cheddar gives every bite a savory edge that keeps the tart from tasting like plain pastry with vegetables on top.
The part that makes this work is moisture control. Tomatoes carry a lot of water, and if they go straight into the crust, they steam the pastry and blur the flavors. Salting the slices first pulls out some of that liquid, and a quick pat dry keeps the layers from slipping around in the oven. The mozzarella underneath melts into the crust and helps anchor the tomatoes, while the garlic and basil give the tart enough backbone to stand up as brunch, lunch, or a light dinner.
Below, you’ll find the trick for getting the dough flaky without overworking it, the best way to layer the tomatoes so the tart slices cleanly, and a few smart swaps if you need to adjust for what’s in your kitchen.
The tomato slices stayed bright and the crust came out crisp underneath, which I never get with tomato tarts. Salting and drying the tomatoes first made a huge difference, and the cheddar crust had enough flavor on its own.
Save this heirloom tomato tart for the days when you want a crisp cheddar crust, juicy tomatoes, and an elegant dish with almost no fuss.
The Reason Most Tomato Tarts Turn Watery Before They Reach the Table
A tomato tart usually goes wrong in one of two places: the crust never gets a chance to crisp, or the filling turns into a wet layer that slides apart when you cut it. Heirloom tomatoes are especially prone to this because they’re flavorful and beautiful, but they’re also full of juice. The fix isn’t complicated, but it does require treating the tomatoes like the main source of moisture, not just a topping.
Salting the slices before they go into the tart does two jobs. It pulls out liquid, and it seasons the tomatoes all the way through so the finished tart tastes balanced instead of flat. The other safeguard is the cheese layer under the tomatoes. Mozzarella melts into the crust and helps buffer the pastry from any juice that still sneaks through.
What Each Ingredient Is Actually Doing in This Tart
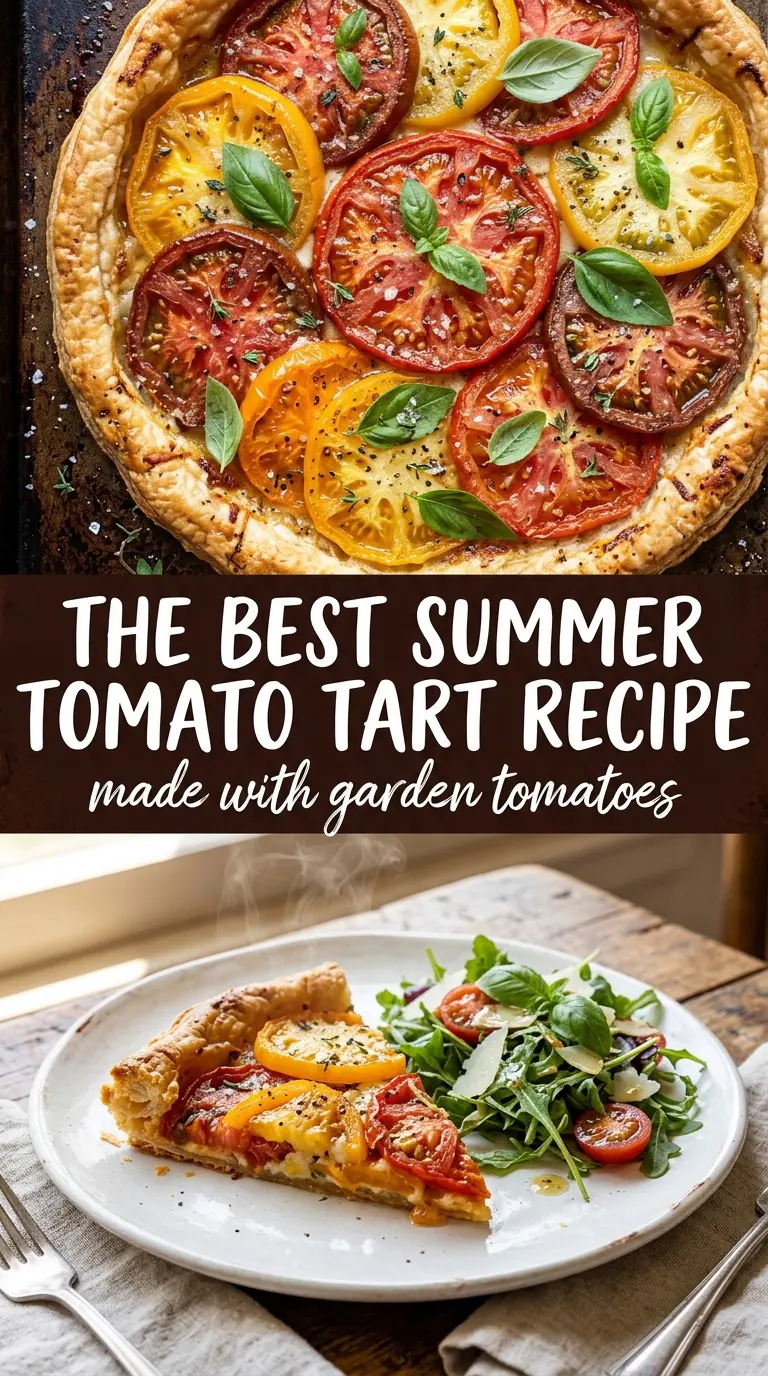
- All-purpose flour — This gives you a crust that rolls easily and still bakes up tender. A pastry flour will make it a little more delicate, but all-purpose is the most reliable choice here.
- Sharp cheddar — This is the flavor engine in the crust. Mild cheddar disappears after baking, but sharp cheddar keeps the pastry savory and gives the tart a clear cheese flavor even before you get to the filling.
- Cold unsalted butter — The butter has to stay cold so it forms pockets in the dough, which is what gives the crust those flaky layers. If the butter softens too much while you’re mixing, the crust turns dense instead of crisp.
- Heirloom tomatoes — Use a mix if you can, because different colors and sizes make the tart look better and taste more complex. The important part is slicing them evenly so they cook at the same rate and don’t leave thick raw spots in the center.
- Mozzarella — This melts into a soft, stretchy layer under the tomatoes and helps keep the bottom from getting soggy. Pre-shredded works, but block mozzarella gives a cleaner melt and less coating powder on the cheese.
- Garlic and basil — The garlic goes under the tomatoes so it mellows in the oven instead of tasting sharp, and the basil goes on at the end so it stays fresh and fragrant. If you add the basil before baking, it loses its color and tastes muted.
Building the Tart So the Bottom Stays Crisp
Mixing the Cheddar Dough
Pulse the flour, cheddar, butter, and salt just until the mixture looks like coarse crumbs with some pea-sized bits of butter still visible. Those little butter pieces are what turn into flaky layers in the oven, so don’t keep processing until the dough looks smooth. Add the ice water a tablespoon at a time and stop as soon as the dough holds together when squeezed. If the dough feels sticky or greasy, it’s too warm and needs the refrigerator, not more flour.
Prebaking the Shell
Roll the dough into the tart pan, press it into the corners without stretching it, and prick the bottom with a fork. Stretching pulls the dough back while it bakes, which can shrink the sides and make the tart uneven. The fork holes help steam escape so the crust doesn’t puff into bubbles under the filling. If you have pie weights, use them for the first part of baking; if not, keep an eye on any large air pockets and press them down gently before filling.
Managing the Tomatoes
Lay the sliced tomatoes on paper towels, salt them, and let them sit until you can see moisture pooling on the towels. That step matters more than any seasoning in the filling because the tomatoes are what can ruin the crust. Pat them dry before layering so they don’t slide around and shed water as soon as they heat up. If the slices are cut too thick, they’ll hold too much liquid and take longer to soften.
Layering and Baking
Scatter the mozzarella and garlic over the crust first, then overlap the tomato slices in a tight pattern. That cheese layer acts like a buffer between the tomatoes and pastry, and the overlap helps the tart stay neat when you slice it. Drizzle with olive oil and bake until the crust is deep golden and the tomatoes look softened at the edges with a little caramelization on top. If the crust is browning too fast before the tomatoes are tender, move the tart to a lower oven rack for the last part of baking.
Three Ways to Make This Tart Work for Your Kitchen
Gluten-Free Crust Swap
Use a cup-for-cup gluten-free flour blend that includes xanthan gum. The texture will be a little more fragile when rolled, so chill the dough well and patch any cracks directly in the tart pan. You’ll still get a crisp, savory shell, but it won’t have quite the same stretch as the original dough.
Dairy-Free Version
Swap the butter for a solid plant-based butter and use a dairy-free shredded mozzarella-style cheese. The crust will still bake up flaky if the plant butter stays cold, but the cheddar flavor in the dough will be gone, so add a pinch of garlic powder or a little nutritional yeast if you want more depth.
Extra Herbs on Top
Tuck a few thyme leaves or chives into the cheese layer if you want a more herb-forward tart. Basil still belongs on top after baking, since it tastes brighter that way. This version works well when you’re serving the tart as a brunch centerpiece and want a little more aroma with each slice.
Storage and Reheating
- Refrigerator: Store slices covered for up to 3 days. The crust softens a bit, but the flavor holds up well.
- Freezer: It freezes, but the tomatoes lose their best texture after thawing, so I don’t recommend freezing the finished tart.
- Reheating: Warm slices on a sheet pan in a 350°F oven until the crust crisps again and the cheese loosens, about 10 to 12 minutes. The microwave makes the tomatoes watery and the crust limp.
Answers to the Questions Worth Asking
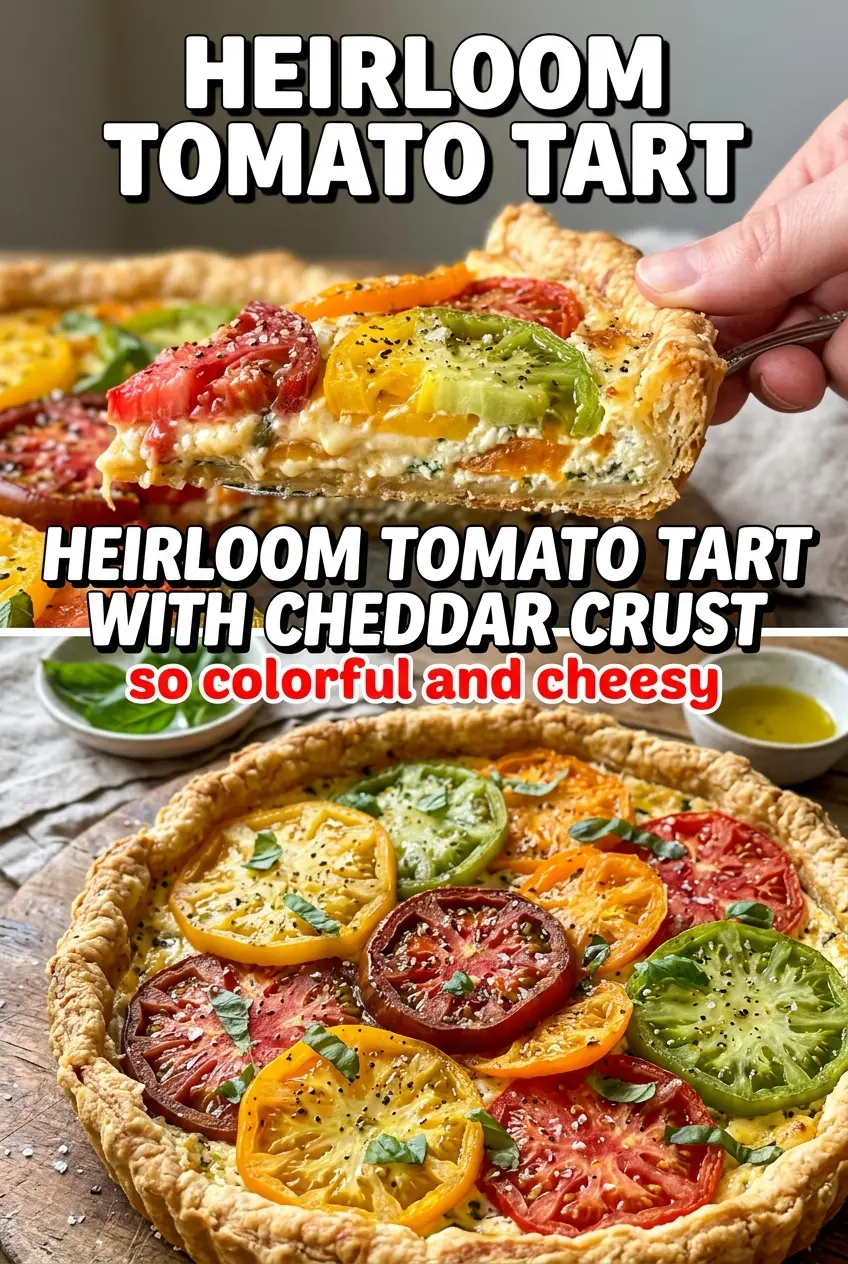
Heirloom Tomato Tart with Cheddar Crust
Ingredients
Equipment
Method
- Pulse the all-purpose flour, shredded sharp cheddar cheese, cold unsalted butter, and salt in a food processor until coarse crumbs form. Add ice water 1 tablespoon at a time until the dough comes together, then keep pulsing just enough to unify.
- Chill the dough for 30 minutes to firm it for rolling.
- Preheat the oven to 400°F. Roll the dough into a 9-inch tart pan and prick the bottom with a fork to prevent bubbling.
- Lay the mixed heirloom tomatoes on paper towels, sprinkle with 1/2 teaspoon kosher salt, and let sit for 15 minutes to draw out excess moisture. Pat the tomato slices dry thoroughly before assembling.
- Sprinkle the shredded mozzarella and minced garlic over the bottom of the tart crust. Spread into an even layer so the tomatoes bake against a cheesy base.
- Arrange the tomato slices in overlapping layers over the cheese, drizzle with olive oil, and sprinkle with the remaining kosher salt. Keep the slices snug so the tart bakes into a uniform top.
- Bake for 35–40 minutes, until the crust is golden and the tomatoes are tender. If the top browns quickly, loosely tent with foil.
- Top with fresh basil and let cool for 10 minutes before slicing to help the filling set.