Buttery crumble bars with a creamy vanilla layer and juicy peaches have a way of disappearing fast. The crust stays sturdy enough to hold in your hand, but the center bakes into that soft, pie-like middle people always reach for first. What makes these stand out is the balance: enough oat crumble for texture, enough cream cheese filling for richness, and just enough cornstarch to keep the peaches from turning the whole pan wet.
The trick is in the layers. Pressing most of the crumble firmly into the pan gives you a base that slices cleanly once cooled, while the reserved mixture on top stays loose and pebbly instead of blending into one dense sheet. The peaches need to be diced small so they soften evenly, and the cream cheese should be fully softened before mixing or you’ll end up chasing lumps around the bowl.
Below, you’ll find the best way to keep the bars from falling apart when you cut them, plus a few smart swaps if your peaches are extra juicy or you want to use frozen fruit instead.
The filling set up perfectly and the peaches stayed juicy without making the bottom soggy. I chilled them overnight and they sliced cleanly the next day, which almost never happens with fruit bars in my kitchen.
Save these peaches and cream crumble bars for the days when you want a pie-style dessert that slices cleanly and travels well.
The Trick to Bars That Slice Clean Instead of Crumbling Apart
Fruit bars fail for two main reasons: the base gets packed too loosely, or the filling is too wet for the bake time. This version avoids both by using melted butter in the crumble mixture, which helps the oat-flour base press into a firm layer, and cornstarch on the peaches, which thickens the juices just enough as the bars bake. The cream cheese layer also matters here because it acts like a buffer between the crust and the fruit, keeping the bottom from turning mushy.
The other piece people miss is cooling time. These bars need to cool completely before you even think about lifting them from the pan. If you cut while they’re warm, the filling will slide and the crumble will scatter. Once chilled, the bars hold their shape and the peach layer settles into that clean, jammy middle.
What Each Ingredient Is Actually Doing in These Bars

- All-purpose flour — Gives the crumble structure so the bars can be pressed into a base and still break into tender crumbs on top. A 1:1 gluten-free baking blend works here if it includes xanthan gum, though the top may be a little more fragile.
- Old-fashioned oats — These add chew and keep the topping from tasting like plain shortbread. Quick oats can work in a pinch, but the texture gets finer and less crisp.
- Brown sugar — This brings molasses depth and helps the crumble brown without drying out. Packed brown sugar gives the richest flavor, so don’t swap in white sugar unless you’re okay losing that warm caramel note.
- Melted butter — Melted butter is what lets the crumb mixture clump and press firmly instead of staying sandy. It also gives the topping that old-fashioned bakery texture after baking, so don’t replace it with oil.
- Cream cheese — This is the creamy layer that makes the bars taste like peach pie and cheesecake had the right idea. Use full-fat cream cheese for the best set and flavor; reduced-fat versions can bake up looser and slightly tangy.
- Fresh peaches — Fresh ripe peaches give the filling real juice and aroma. If your peaches are very soft and dripping, dice them first and let them sit in a strainer for a few minutes so the bars don’t get watery.
- Cornstarch — This thickens the peach juices as the bars bake, which keeps the filling from running. Arrowroot can substitute, but use a little less because it thickens more aggressively.
Building the Layers So the Filling Stays Creamy and the Top Stays Crumbly
Mixing the Crumble
Stir the flour, oats, brown sugar, baking powder, and salt together first so the leavener and sugar are spread evenly through the mixture. When the melted butter goes in, the texture should look like damp sand with some larger clumps forming as you stir. If it turns pasty, the butter was too hot or the dry ingredients were under-mixed. That base will still bake, but it won’t have the same crumbly bite.
Pressing the Bottom Layer
Use about two-thirds of the mixture for the crust and press it firmly into the parchment-lined pan. Firm pressure matters here because a loose crust falls apart when the bars are sliced. Don’t pack it so hard that it becomes dense; the goal is an even layer that holds together but still bakes tender.
Making the Creamy Middle
Beat the cream cheese, sugar, egg, and vanilla until the mixture is smooth and glossy, then spread it over the crust in an even layer. If the cream cheese is still cold, you’ll get small lumps that don’t disappear in the oven. A soft, spreadable filling creates that clean, cheesecake-like layer under the peaches.
Finishing With Peaches and Crumble
Toss the diced peaches with cornstarch before scattering them over the filling. That light coating is what keeps the fruit juices from flooding the pan. Break the reserved crumble into small clumps over the top so some peach peeks through; a thick solid lid on top can trap steam and soften the crust underneath.
How to Adapt These Bars When You Need a Different Pan, a Different Peach, or a Different Diet
Make Them Gluten-Free
Use a good 1:1 gluten-free flour blend in place of the all-purpose flour and keep the oats certified gluten-free. The bars will still hold together, but they may be a touch more delicate when warm, so cooling them fully matters even more.
Use Frozen Peaches
Frozen peaches work when fresh peaches aren’t available, but thaw and drain them first. Extra liquid is the enemy here, and frozen fruit releases more moisture than fresh, so a quick drain keeps the filling from turning loose.
Make Them a Little Less Sweet
Cut the brown sugar in the crumble by a couple tablespoons and leave the filling sugar alone. The bars need enough sweetness to balance the cream cheese and peaches, but trimming the topping slightly gives a cleaner fruit-forward finish.
Storage and Reheating
- Refrigerator: Store in an airtight container for up to 5 days. The texture firms up as they chill, which actually makes the bars easier to cut cleanly.
- Freezer: These freeze well. Wrap individual bars tightly and freeze for up to 2 months, then thaw in the refrigerator overnight.
- Reheating: These are best served chilled or at cool room temperature, not hot. If you want to soften them a little, let them sit on the counter for 15 to 20 minutes; microwaving can make the filling weep and the crumble lose its texture.
Questions I Get Asked About This Recipe
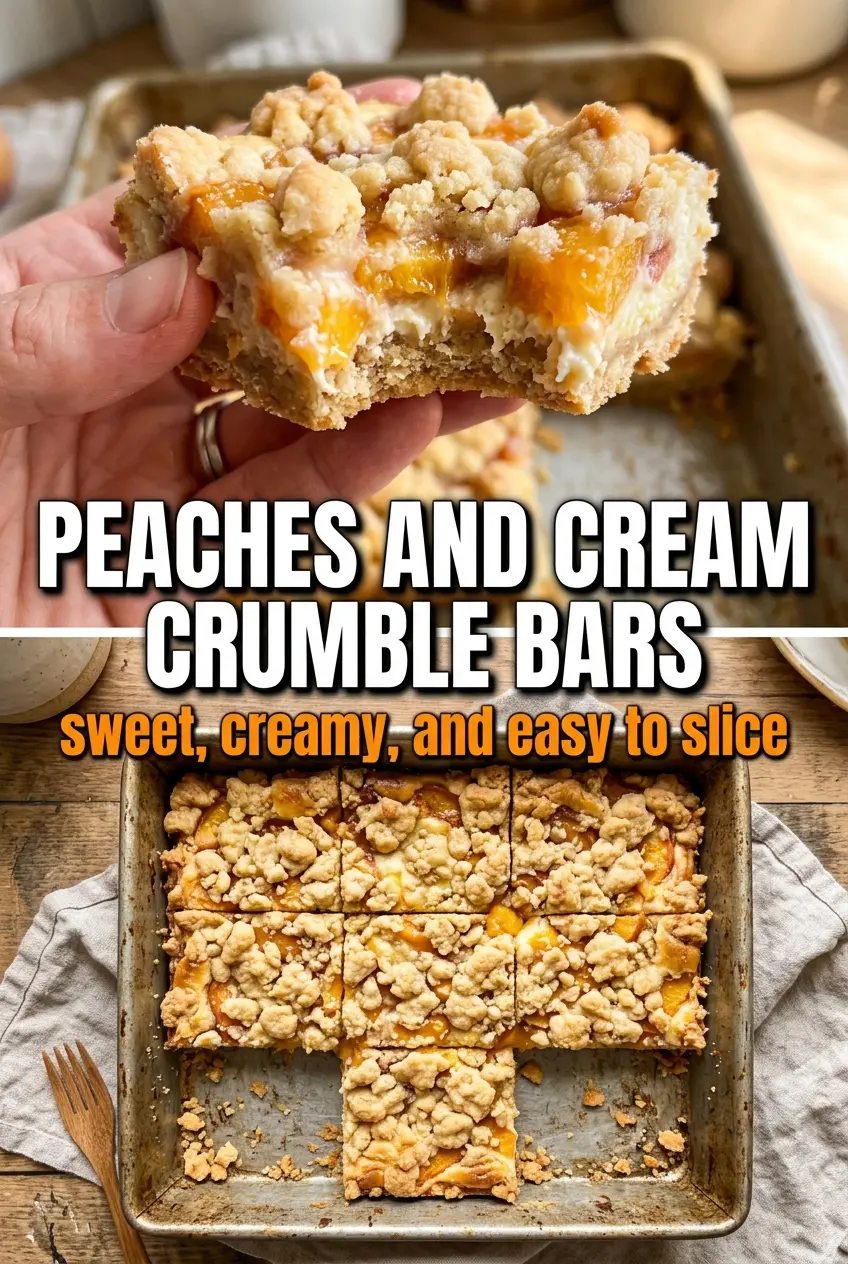
Peaches and Cream Crumble Bars
Ingredients
Equipment
Method
- Preheat the oven to 350°F and line a 9x13-inch baking pan with parchment paper, leaving overhang on the sides.
- Combine the all-purpose flour, old-fashioned oats, brown sugar, baking powder, and salt, then stir in the melted unsalted butter until crumbly.
- Press two-thirds of the crumble mixture into the bottom of the pan, reserving the rest for the topping.
- Beat the cream cheese, granulated sugar, egg, and vanilla extract until smooth, then spread evenly over the crust.
- Toss the diced fresh peaches with cornstarch, then scatter evenly over the cream cheese layer.
- Sprinkle the reserved crumble mixture over the top, breaking it into small clumps.
- Bake at 350°F for 40–45 minutes, until golden and set.
- Cool completely for about 2 hours before slicing.