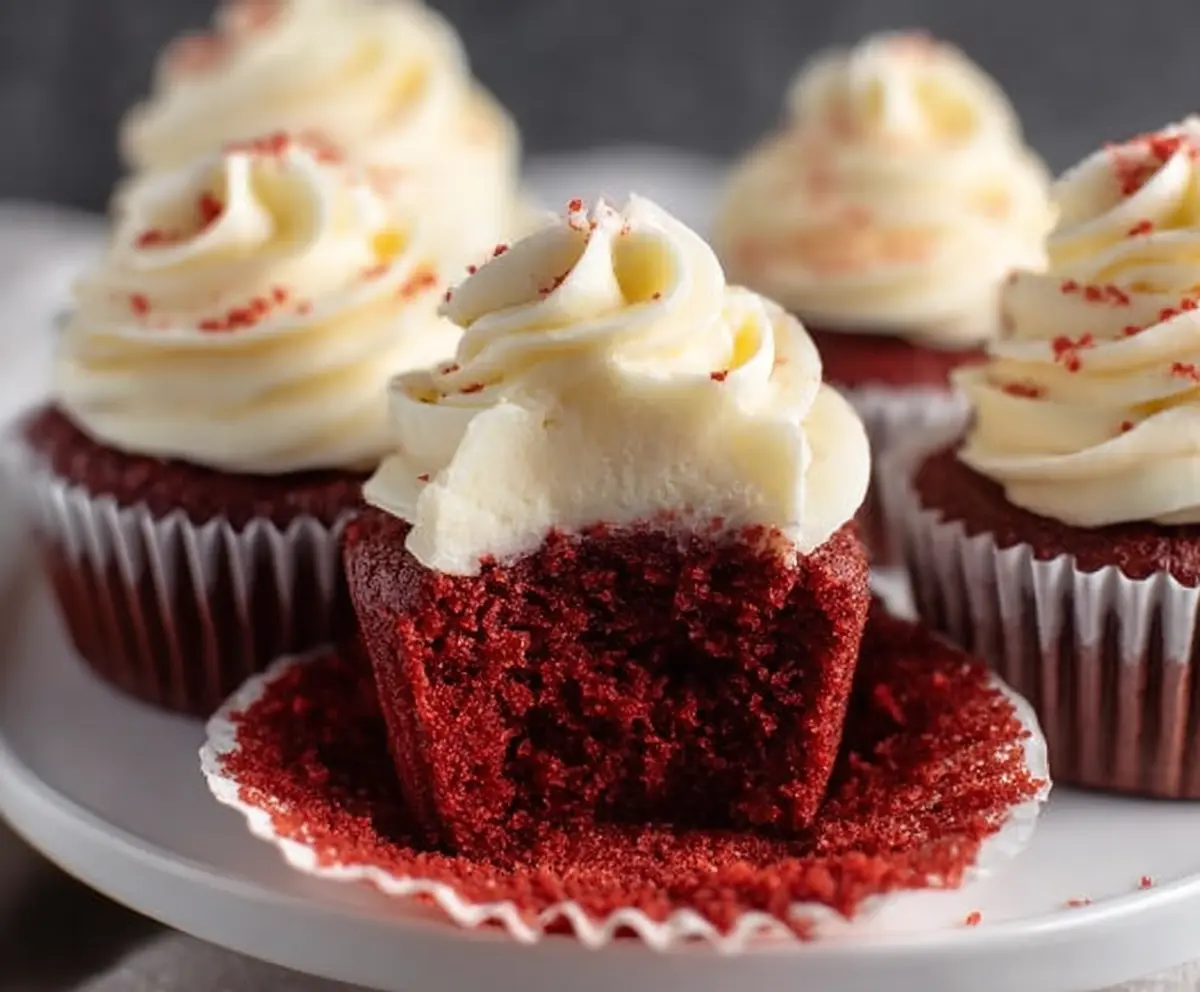
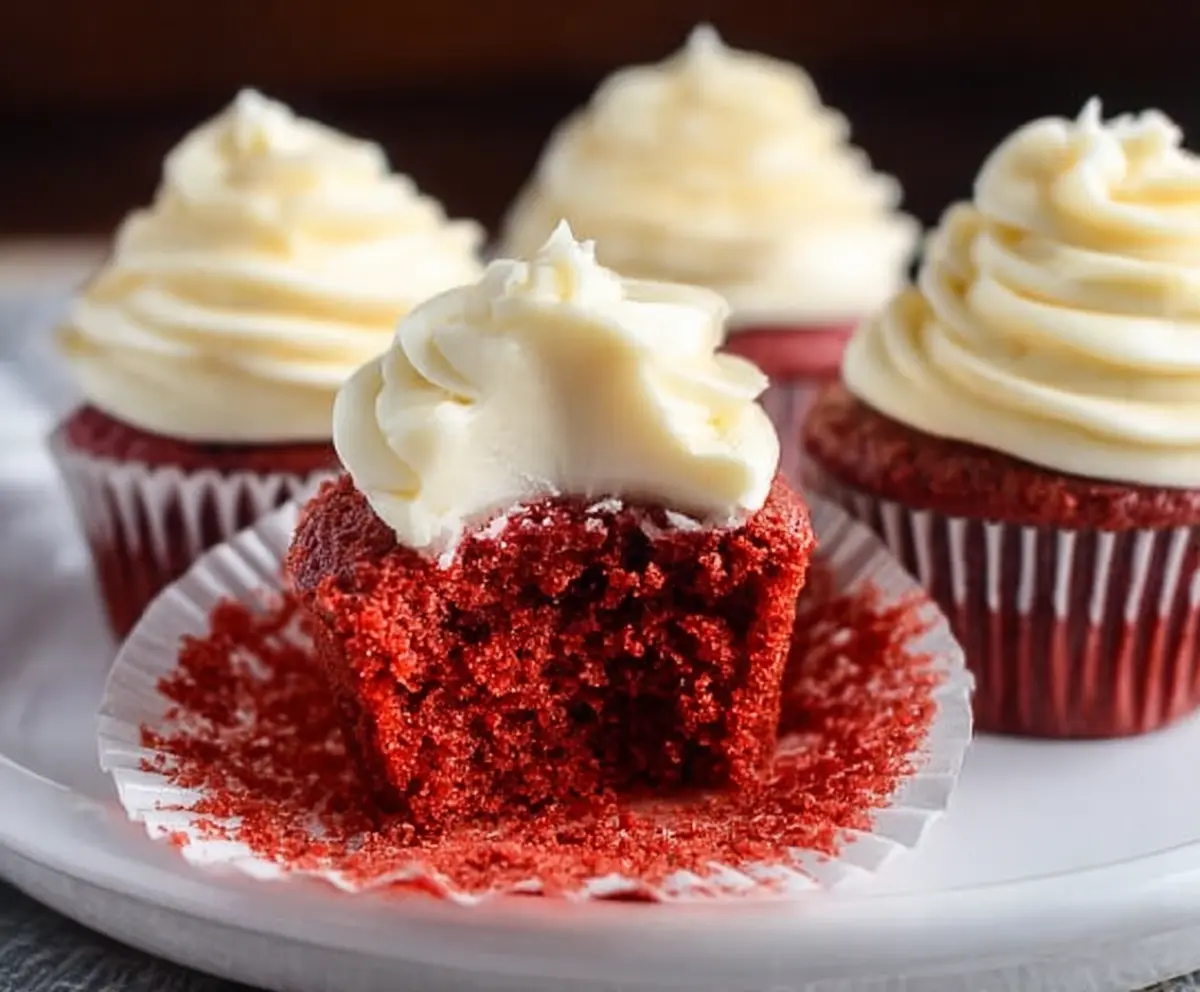
These Small Batch Red Velvet Cupcakes are soft, fluffy, and oh-so-delicious! With a touch of cocoa and a hint of vanilla, they’re perfect for satisfying a sweet tooth without making a dozen.
Trust me, frosting is the best part! I like to pile it on high and enjoy every bite. Who knew small batches could bring so much joy? 🎉
Making just a few is super easy—they’re perfect for a little treat or a cozy get-together. Plus, who doesn’t love a mini cupcake that’s rich in flavor?
Key Ingredients & Substitutions
All-Purpose Flour: This is the base for your cupcakes. For a gluten-free option, try using a 1:1 gluten-free flour blend.
Cocoa Powder: You need unsweetened cocoa powder for a subtle chocolate flavor. If you’re out, swap it with Dutch-processed cocoa for a mellower taste.
Buttermilk: It adds moisture and richness. If you don’t have buttermilk, mix 3 tbsp of milk with 1 tsp of vinegar or lemon juice and let it sit for 5 minutes.
Cream Cheese: Essential for the frosting! If you’re looking for a lighter option, you can use Greek yogurt or a dairy-free cream cheese substitute.
How Do You Achieve the Perfect Cupcake Texture?
To make sure your red velvet cupcakes come out soft and fluffy, follow these simple steps:
- Get the Right Measurements: Use a kitchen scale for accurate ingredient amounts, especially for flour and sugar.
- Don’t Overmix: Mix your batter just until combined. Overmixing can lead to dense cupcakes.
- Correct Oven Temperature: Make sure your oven is fully preheated to avoid uneven baking.
- Check for Doneness: Use a toothpick to test for doneness. If it comes out clean, they’re done!
- Cool Completely: Allow cupcakes to cool before frosting. This prevents the frosting from melting into the cake.
With these tips, you’ll create light and moist cupcakes that are perfect every time! Enjoy your baking adventure!
Small Batch Red Velvet Cupcakes
Ingredients You’ll Need:
For the Cupcakes:
- ¼ cup (30g) all-purpose flour
- 2 tbsp (10g) unsweetened cocoa powder
- ¼ tsp baking soda
- A pinch of salt
- 3 tbsp (40g) granulated sugar
- 2 tbsp (28g) unsalted butter, softened
- 1 large egg yolk
- 3 tbsp buttermilk
- ½ tsp vanilla extract
- 1 tsp red food coloring
- ½ tsp white vinegar
For the Cream Cheese Frosting:
- 2 oz (56g) cream cheese, softened
- 2 tbsp (28g) unsalted butter, softened
- ¾ cup (90g) powdered sugar, sifted
- ¼ tsp vanilla extract
How Much Time Will You Need?
This delightful recipe requires about 10 minutes of prep time and 18-20 minutes of baking time. Once baked, give your cupcakes some time to cool before frosting them. In total, you’ll spend around 40 minutes from start to finish—a small investment for a tasty treat!
Step-by-Step Instructions:
1. Preheat and Prepare:
Start by preheating your oven to 350°F (175°C). While that’s warming up, line a muffin tin with 4 cupcake liners. This will help your cupcakes bake evenly and make for easy cleanup.
2. Mix Dry Ingredients:
In a small bowl, whisk together the flour, cocoa powder, baking soda, and salt. This helps to evenly distribute the ingredients and avoids clumping. Set it aside for later.
3. Cream Butter and Sugar:
In a medium bowl, beat the softened butter and granulated sugar using a hand mixer until it’s light and fluffy. This step is essential for a lovely texture in your cupcakes.
4. Add Wet Ingredients:
Next, beat in the egg yolk, vanilla extract, and red food coloring until everything is well combined. The batter will start to take on that signature red hue!
5. Combine Wet and Dry:
Now, it’s time to combine! Alternately add the dry ingredients and buttermilk to the butter mixture, starting and finishing with the dry ingredients. Mix gently until just combined; you don’t want to overmix!
6. Add Vinegar:
Carefully stir in the white vinegar. This ingredient will react with the baking soda, helping your cupcakes to rise nicely and keeping them light and fluffy.
7. Bake:
Divide the cupcake batter evenly into the prepared liners. Bake in the preheated oven for about 18-20 minutes or until a toothpick comes out clean from the center. Keep an eye on them to ensure they don’t overbake!
8. Cool:
Once out of the oven, let the cupcakes cool in the pan for 5 minutes. After that, transfer them to a wire rack to cool completely. Don’t rush this part; warm cupcakes will melt your frosting!
9. Prepare Frosting:
While the cupcakes are cooling, in a separate bowl, beat together the cream cheese and butter until it’s nice and smooth. Gradually add the sifted powdered sugar and vanilla extract, mixing until fluffy and creamy.
10. Frost:
Once the cupcakes are completely cooled, it’s frosting time! Pipe or spread the cream cheese frosting generously on top of each cupcake. If you like, you can sprinkle a few red velvet crumbs on top for an extra touch.
11. Serve and Enjoy:
Your small batch red velvet cupcakes are ready to be enjoyed! Whether you share them or keep them all for yourself, these sweet treats are sure to delight. If you have leftovers, store them in an airtight container in the fridge for up to 3 days.
This recipe yields a perfect little batch of 4 soft and decadent red velvet cupcakes, beautifully topped with classic cream cheese frosting. Enjoy every last bite!
Can I Use All-Purpose Flour Instead of Cake Flour?
Absolutely! All-purpose flour works just fine for these cupcakes. For a lighter texture, you can sift the flour before measuring. However, if you have cake flour on hand, feel free to use that for an even fluffier result!
What If I Don’t Have Buttermilk?
No worries! You can make a quick buttermilk substitute by adding 1 teaspoon of vinegar or lemon juice to 3 tablespoons of regular milk. Let it sit for about 5 minutes, and you’ll have a great alternative!
How Should I Store Leftover Cupcakes?
To keep your cupcakes fresh, store them in an airtight container in the refrigerator for up to 3 days. Be sure to keep them separate if possible to avoid any frosting getting smudged.
Can I Freeze these Cupcakes?
Yes, you can freeze them! Allow the cupcakes to cool completely, then place them in an airtight container or wrap them individually in plastic wrap. They can be frozen for up to 3 months. Just thaw them in the fridge overnight when you’re ready to enjoy!