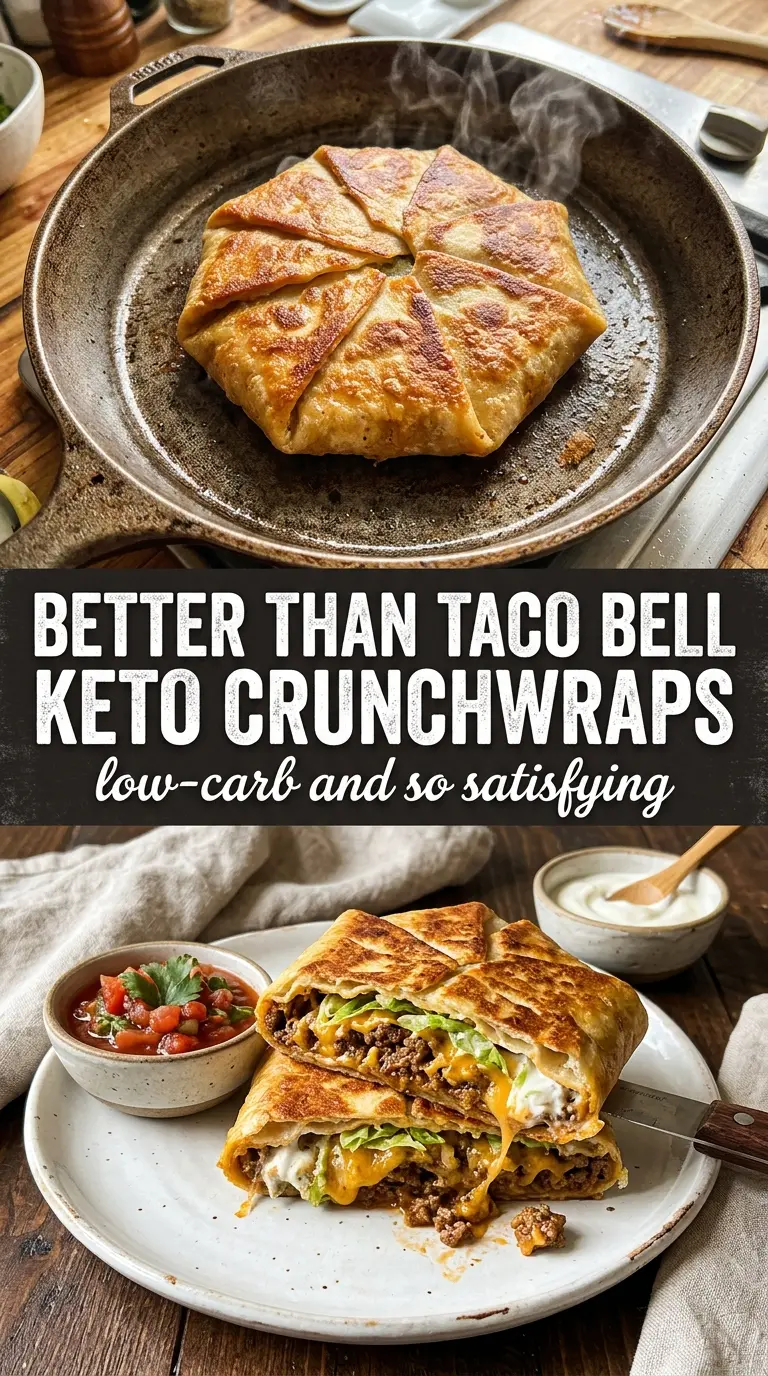
These crispy keto crunchwraps hit the table with that same layered, toasted bite people love in the original, but the low-carb version still holds together and eats like a real dinner. The outside gets deeply golden in the skillet, the center stays warm and cheesy, and the small tortilla tucked inside gives you that signature crunch without relying on a giant flour shell.
The part that makes this work is balance. The beef needs to be seasoned and just loose enough to spread, not so wet that it turns the tortilla soggy. The inner tortilla is doing more than adding crunch — it creates structure, so the filling stays tucked in while the outside crisps up. A little butter in the pan helps the shell brown evenly and gives the fold a better seal than dry heat alone.
Below you’ll find the folding trick that keeps the wrap closed, the skillet cue that tells you it’s ready to flip, and a few easy swaps if you want to change up the filling without losing that crunchy finish.
The tortillas crisped up instead of going rubbery, and the little tortilla inside gave it that real crunchwrap bite. My kids didn’t even notice it was low carb.
These crispy keto crunchwraps keep the fold sealed and the shell golden, even with all the beef, cheese, and lettuce inside.
Save this crunchy keto dinner for the nights when you want tacos with a crispy shell
The Seal Matters More Than the Fold
A crunchwrap fails when the tortilla is stretched too thin or the filling is piled too high. The edges need enough room to pleat over the center without tearing, and the filling needs to stay in a tight mound so the seam can press down into the pan and seal before anything leaks out.
The other mistake is rushing the flip. If the first side isn’t browned and set, the wrap will open as soon as you turn it. Give it the full 2 to 3 minutes seam-side down until the tortilla feels firm and the color turns deep gold at the edges. That first crisp layer is what holds the whole thing together.
What Each Ingredient Is Actually Doing in This Dish
- Ground beef — This is the hearty base, and it needs to be browned until there’s no pink left and the moisture has mostly cooked off. If the pan is crowded, the meat steams and turns soft, so give it enough space to pick up some real color.
- Taco seasoning — Store-bought seasoning keeps this fast, but the key is letting it simmer with a little water so it clings to the beef instead of sitting in the pan. If you use homemade seasoning, keep the salt level in check because the cheese and salsa add their own.
- Low-carb tortillas — Use the largest ones you can find for the outer shell, because they need enough surface area to fold cleanly. Some brands are more pliable than others; if yours crack, warm them for a few seconds so they bend instead of splitting.
- Shredded cheddar — Cheddar melts into the beef and helps glue the layers together. Pre-shredded works fine here, but freshly shredded cheese melts a little smoother if you want a tighter, creamier center.
- Sour cream and salsa — These are best as a finishing sauce, not packed inside the wrap, or they’ll loosen the filling and soften the shell. If you want extra flavor inside, use a thin smear of sour cream and keep the salsa on the side.
How to Build the Crunchwrap So It Seals and Stays Crisp
Cooking the Beef Down Properly
Brown the beef over medium-high heat until it’s no longer watery and the bits in the pan have some caramelized edges. Then stir in the taco seasoning with the water and let it simmer until the liquid turns into a thick coating instead of pooling at the bottom. If the filling is soupy, the tortilla base softens before it ever reaches the skillet.
Layering for a Clean Fold
Lay the large tortilla flat and keep the filling in the center, leaving a wide border all the way around. Beef goes first, then cheese, lettuce, and tomatoes, with the small tortilla set on top like a lid. That small tortilla is what keeps the fold from collapsing into the filling and gives you the layered bite you want when you cut it open.
Seam-Side Down Is the Whole Point
Heat the butter in the skillet over medium heat, then set the crunchwrap seam-side down and leave it alone for a couple of minutes. You’re looking for a deep golden color and a tortilla that lifts cleanly from the pan before you flip it. If you move it too early, the fold can unwrap and the filling spills out.
Finishing the Second Side
Flip carefully and cook the second side until it matches the first. The outside should feel crisp, not leathery, and the cheese inside should be fully melted. Slice it while it’s still hot so the layers stay neat and the steam doesn’t soften the shell.
Three Ways to Change the Filling Without Losing the Crunch
Dairy-Free Crunchwrap
Skip the cheddar and sour cream, then use a dairy-free shredded cheese that melts well. The shell still crisps in butter-free oil, but the filling will be a little less creamy, so keep the beef well seasoned and don’t overstuff the center.
Chicken Instead of Beef
Use shredded or finely chopped cooked chicken tossed with taco seasoning and a splash of water. It gives you a lighter filling and still holds together well, but chicken needs the extra cheese to keep the wrap from tasting dry.
Extra-Simple Vegetarian Version
Swap the beef for seasoned black beans or crumbled meatless crumble and cook off the moisture before assembling. Beans make the wrap softer and a little less sturdy, so keep the filling layer thinner and use a generous amount of cheese to help it hold.
Storage and Reheating
- Refrigerator: Store leftovers for up to 2 days. The shell softens as it sits, but it still reheats well if you keep the salsa and sour cream separate.
- Freezer: These freeze best before the fresh lettuce and tomato go in. Wrap the cooked crunchwrap tightly, freeze for up to 1 month, then add fresh toppings after reheating.
- Reheating: Reheat in a skillet or air fryer so the outside crisps back up. The microwave will warm the center, but it also turns the tortilla limp, which is the fastest way to lose the crunch.
Questions I Get Asked About This Recipe
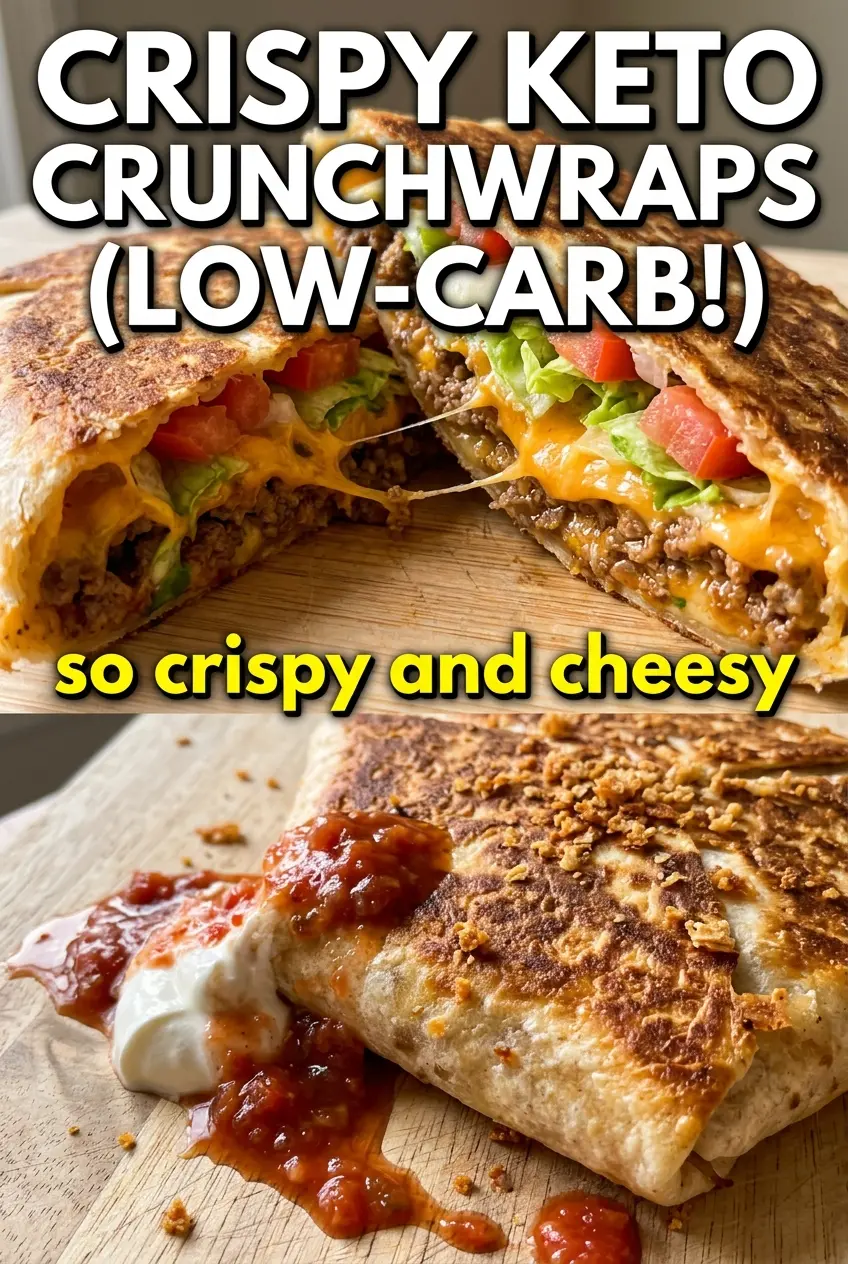
Crispy Keto Crunchwraps
Ingredients
Equipment
Method
- Brown the ground beef in a skillet over medium-high heat, breaking it apart as it cooks, about 6–7 minutes. Stir in the taco seasoning and 2 tablespoons water, simmering for 2 minutes.
- Lay a large tortilla flat and layer the center with beef, cheese, lettuce, diced tomatoes, and a small tortilla on top. Keep the layers centered so the wrap can seal cleanly.
- Fold the edges of the large tortilla up and over the filling, pleating as you go to fully enclose it. Press gently at the top to ensure the seam stays closed.
- Heat the butter in a large skillet over medium heat. Place the crunchwrap seam-side down and cook for 2–3 minutes, until golden and crisp.
- Flip carefully and cook for 2–3 more minutes, until golden on both sides. Press lightly with a spatula so the tortilla shell browns evenly.
- Slice in half and serve immediately with sour cream and salsa. Add extra salsa on top if you want more tang.