Crispy beef and cheese chimichangas hit that sweet spot between comfort food and straight-up crunch. The tortilla turns deeply golden and crackly in the skillet, while the filling stays savory and molten instead of spilling out the second you cut into it. What makes this version worth making is the balance: seasoned beef that cooks down thick, plenty of cheese for the center, and a fry that gives you a shattering exterior without greasiness.
The details matter here. Cooking the beef until the pan is dry enough for the seasoning to cling keeps the filling from turning soupy, and that matters because wet filling is what blows open tortillas in hot oil. A tight roll, seam-side down first, and oil at a steady 350°F are what give you that clean, crisp shell instead of a blistered mess with raw patches.
Below, I’ve included the little things that make these chimichangas come out right the first time, plus a few ways to adapt them if you want to change the filling or cook them a different way.
The beef mixture thickened up perfectly, and the tortillas stayed sealed in the oil. I used a wire rack like you suggested, and they came out crisp all the way around instead of soggy on the bottom.
Save these beef and cheese chimichangas for the night you want a crunchy fried dinner with melty centers and almost no cleanup after frying.
The Trick to a Chimichanga That Fries Crisp Instead of Bursting Open
The filling has to be drier than most people expect. If the beef is still loose and saucy when it goes into the tortilla, steam builds inside the wrapper and pushes the seam open before the outside has a chance to set. That’s why the last minute of simmering matters: the seasoning coats the beef instead of pooling at the bottom of the pan.
Sealing the roll is the other part that gets skipped too often. Lay the filling in a tight line, leave enough tortilla at the edges to fold over, then tuck and roll it firmly so the seam sits underneath in the oil. Frying seam-side down first gives the tortilla enough structure to hold before you flip it.
What Each Ingredient Is Actually Doing in This Dish
- Ground beef — Use a beef with enough fat to stay juicy, but not so much that the filling turns greasy. If you use very lean beef, drain off a little rendered fat before adding the seasoning so the tortillas don’t soak it up.
- Taco seasoning — This brings salt, spice, and that familiar chile-cumin backbone in one step. A packet works well here because the filling needs to be concentrated, not subtle.
- Yellow onion — The onion softens in the beef fat and gives the filling sweetness and texture. Dice it small so it disappears into the meat instead of poking through the tortilla and creating weak spots.
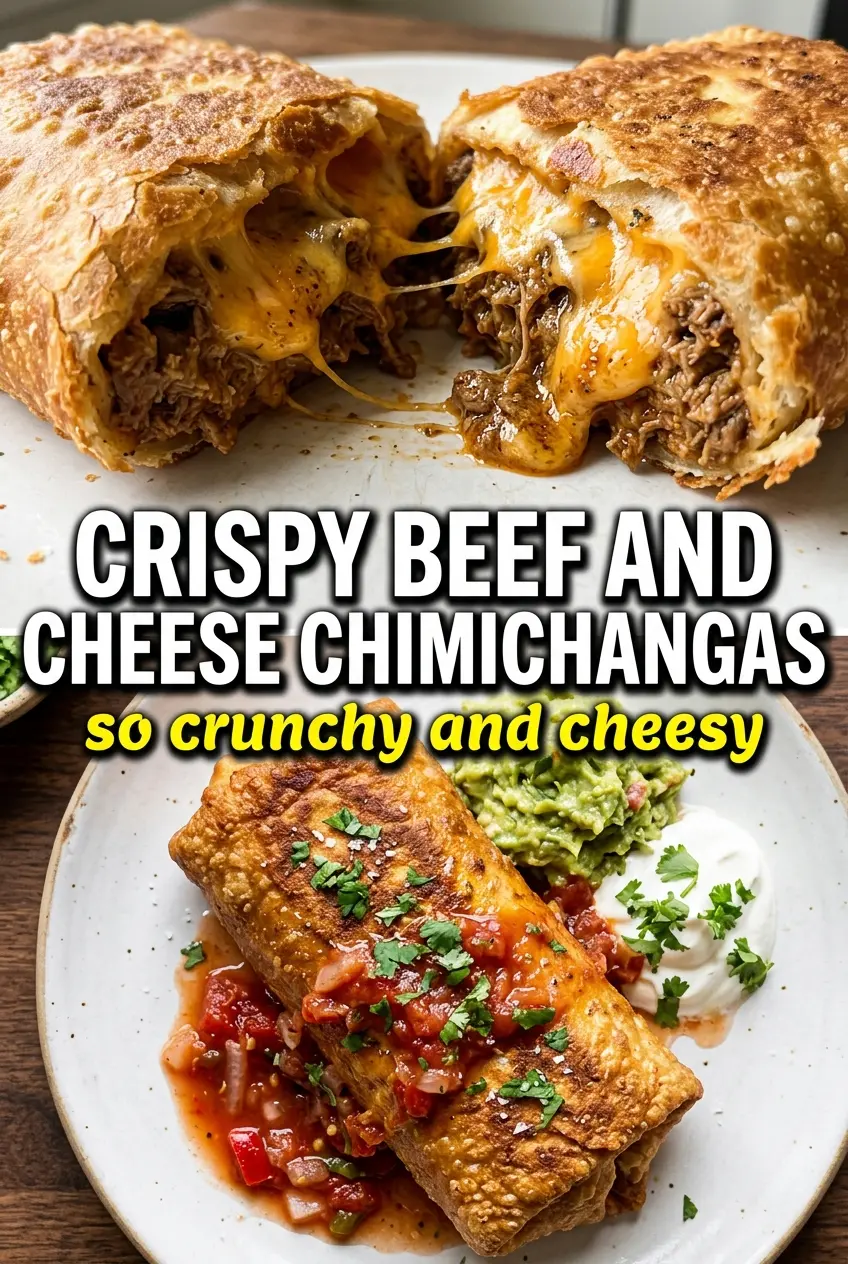
- Mexican blend cheese — This is what gives you those stretchy, molten pockets inside the chimichangas. Pre-shredded cheese works fine, though freshly shredded melts a little smoother if you’ve got the time.
- Flour tortillas — Large flour tortillas fold best because they’re flexible and sturdy enough to survive frying. If they crack when you roll them, warm them for a few seconds first so they bend instead of tear.
- Vegetable oil — Neutral oil is the right choice because it lets the tortilla fry cleanly without competing with the filling. Keep the depth around 1 inch and the temperature steady so the outside crisps before the cheese leaks out.
How to Build the Filling and Fry It Without Losing the Seal
Brown the Beef Until the Pan Dries Out
Cook the beef and onion over medium-high heat until the meat is no longer pink and the onion turns soft and translucent. If there’s a lot of liquid in the pan, keep cooking for another minute or two so it evaporates. A wet skillet is the fastest way to end up with a soggy filling that won’t hold inside the tortilla.
Season, Simmer, and Let It Tighten
Stir in the taco seasoning and water, then cook until the mixture looks thick and clings to the beef instead of running across the pan. You want a spoonful to mound slightly, not puddle. That short simmer is what gives the filling enough body to stay put once it’s wrapped.
Roll Tight and Start Seam-Side Down
Divide the beef and cheese among the tortillas, fold in the sides, and roll them tightly like a burrito. If the tortilla springs open, it usually means it was overfilled or too cold to bend cleanly. A toothpick can hold the seam for a minute, but the real insurance is a firm roll with the seam tucked underneath as soon as it hits the oil.
Fry Until the Shell Is Deep Gold
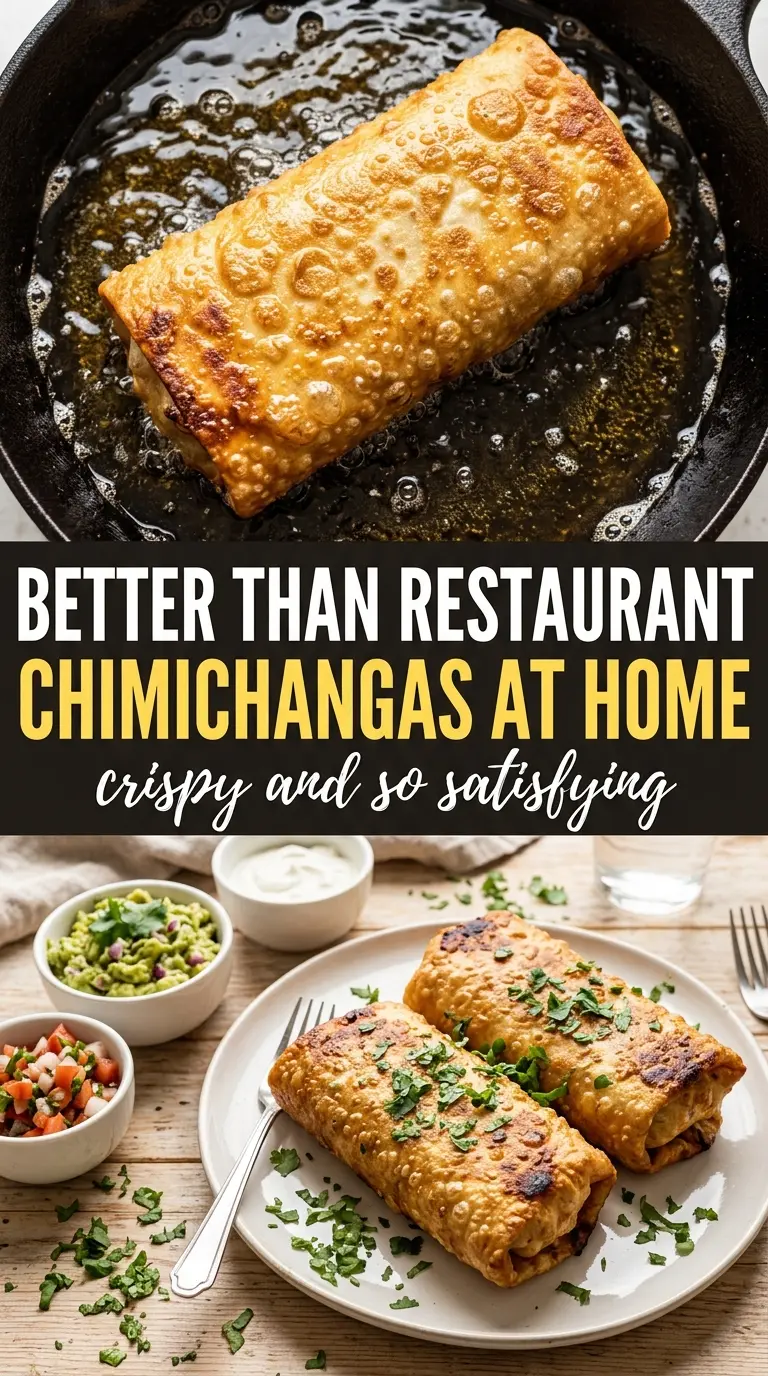
Heat the oil to 350°F and fry the chimichangas in batches so the temperature doesn’t drop too far. They should sizzle right away and turn a deep golden color in 3 to 4 minutes per side. If they brown too fast, the oil is too hot; if they sit there and drink oil, the oil is too cool.
What to Change When You Want a Different Chimichanga
Bake Them Instead of Frying
Brush the rolled chimichangas with oil and bake them hot until the tortillas are deeply golden. They won’t have the same shattering crust as the fried version, but they’ll still crisp up nicely and use less oil. This is the better move when you want a lighter texture or an easier cleanup.
Make Them Gluten-Free
Swap in gluten-free tortillas that are labeled large and pliable enough for rolling. They can be a little more fragile than flour tortillas, so warm them first and keep the filling modest. The texture will be slightly softer, but the flavor stays the same.
Use Ground Turkey or Chicken
Lean poultry works well, but it needs a little extra attention because it dries out faster than beef. Add the seasoning and water the same way, then stop cooking as soon as the mixture thickens. You’ll get a lighter filling with a cleaner finish and less richness.
Storage and Reheating
- Refrigerator: Store the cooked chimichangas for up to 3 days. The tortilla softens a bit in the fridge, but the filling stays flavorful.
- Freezer: Freeze after cooling completely, wrapped individually, for up to 2 months. Reheat from frozen for the best texture instead of thawing first.
- Reheating: Warm in a 375°F oven or air fryer until the shell crisps again. The mistake to avoid is microwaving, which turns the tortilla rubbery and steamy instead of crisp.
Answers to the Questions Worth Asking
Beef and Cheese Chimichangas
Ingredients
Equipment
Method
- Brown the ground beef and diced yellow onion in a skillet over medium-high heat for 6–7 minutes, breaking the beef apart as it cooks, until no pink remains.
- Stir in the taco seasoning packet and 3 tablespoons water, then simmer for 2 minutes until the mixture thickens and looks glossy.
- Divide the beef mixture and shredded Mexican blend cheese among the flour tortillas, adding cheese throughout so it melts inside.
- Fold in the sides and roll tightly like a burrito, securing with a toothpick if needed, so the seam stays closed.
- Heat about 1 inch of vegetable oil in a heavy skillet to 350°F, until it shimmers for reliable frying temperature.
- Fry the chimichangas seam-side down for 3–4 minutes per side, until deeply golden and crisp, flipping once to brown both sides.
- Drain on a wire rack and remove any toothpicks to keep the crust crisp.
- Serve immediately topped with shredded lettuce, sour cream, and salsa for the classic cool-and-crunch contrast.