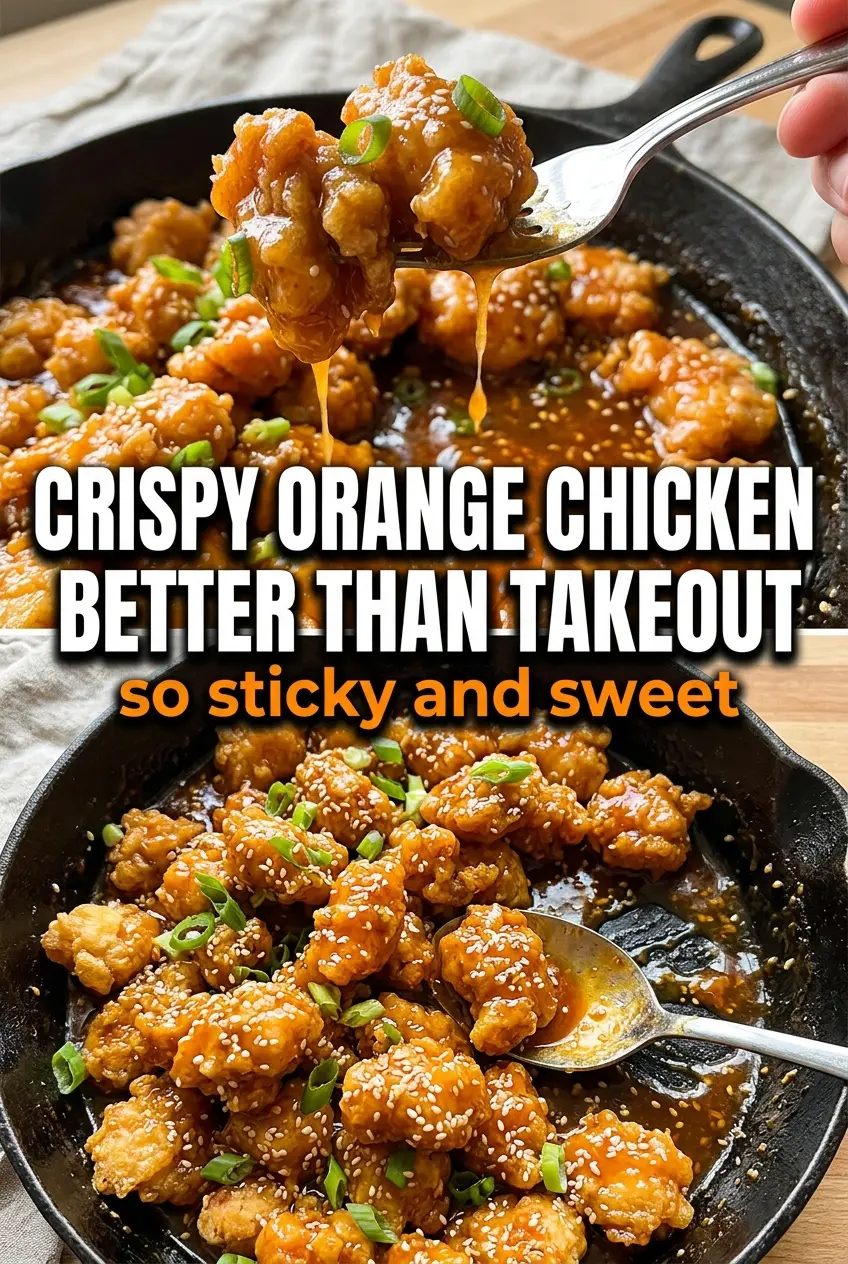
Crispy orange chicken hits that perfect takeout sweet spot: crackly pieces of fried chicken wrapped in a glossy orange sauce that clings instead of pooling at the bottom of the bowl. The contrast is what keeps people coming back — crunchy edges, tender chicken, and a sauce that tastes bright, sticky, and balanced instead of one-note sweet.
The trick is building two different textures on purpose. The cornstarch-and-egg coating fries up with a light, craggy crust, while the sauce gets its body from orange juice, zest, and just enough cornstarch slurry to turn shiny and thick. If the sauce ever tastes flat, it usually needs more zest, not more sugar. That little bit of citrus oil in the zest is what makes the orange flavor read as fresh instead of candy-sweet.
Below, I’ll walk through the exact frying temperature, the sauce consistency you’re looking for, and the small timing detail that keeps the chicken crisp long enough to serve.
The chicken stayed crisp even after I tossed it in the sauce, and the orange flavor tasted fresh instead of overly sweet. My husband said it was better than our usual takeout order.
Save this orange chicken for the nights when you want crispy fried chicken and a glossy citrus sauce that tastes better than delivery.
The Crispy Coating Needs Heat, Space, and a Fast Hand
Orange chicken falls apart when the breading soaks up oil instead of frying into a shell. That happens when the oil is too cool, the pan is crowded, or the chicken sits around after dredging. The cornstarch gives you that light, brittle crust, but it only works if the oil stays around 350°F and each batch has room to fry, not steam.
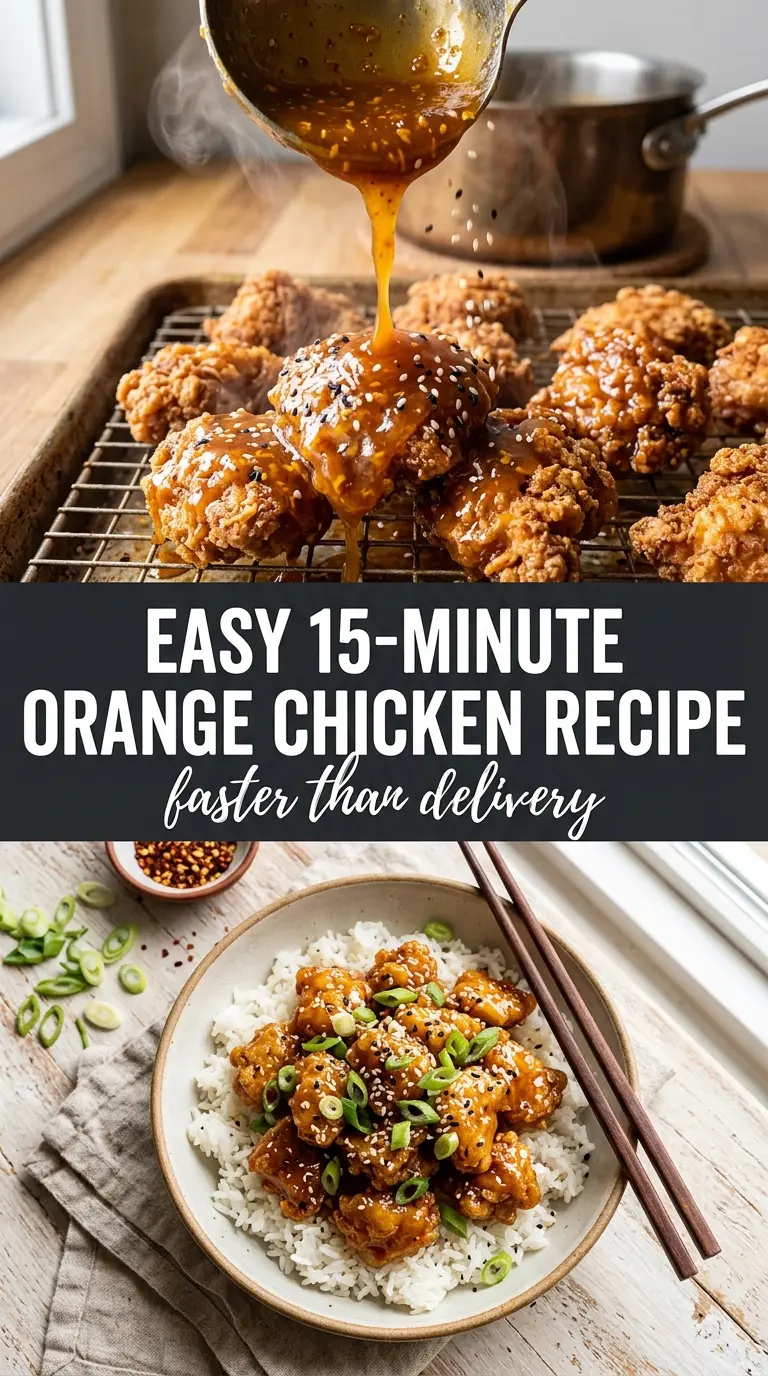
The other place people lose the texture is during the sauce step. If you toss the chicken into the pan before the sauce has thickened, the coating softens immediately and never gets its crunch back. Fry everything first, drain it on a rack, and only coat the chicken after the sauce looks glossy and lightly nappe — thick enough to cling, thin enough to pour.
What the Orange Juice, Zest, and Cornstarch Are Actually Doing
- Chicken thighs — Thighs stay juicier than breast meat during frying, which matters here because the coating cooks quickly and the sauce gets added at the end. If you swap in chicken breast, cut the pieces a little larger and pull them as soon as they hit golden so they don’t dry out.
- Cornstarch — This is what makes the coating crisp instead of bready. A flour-only coating won’t give you the same brittle, takeout-style crunch.
- Orange juice and zest — Juice brings the sweetness and liquid for the sauce, but zest brings the actual orange perfume. If you use bottled juice, the zest becomes even more important because that’s where the fresh citrus flavor comes from.
- Rice vinegar and soy sauce — These keep the sauce from tasting like syrup. Rice vinegar gives the sharp edge, and soy sauce adds salt and depth so the orange flavor tastes balanced.
- Cornstarch slurry — This is what turns the sauce from thin and watery to glossy and clingy. Stir it in at a simmer, not a hard boil, or it can seize unevenly and go slightly gummy.
Frying First, Sauce Second, Toss Fast
Coating the Chicken
Start by tossing the chicken in cornstarch until every piece looks dusty, then dip it in egg and let the excess drip off before it goes into the oil. That double layer gives you the craggy crust you want, but if the egg pools on the chicken, the coating turns thick and heavy. Work in batches and keep the pieces separated so the coating sets instead of clumping.
Frying to a Deep Golden Edge
Heat about 1 inch of oil to 350°F and fry the chicken in small batches for 4 to 5 minutes. You want a deep golden color and a crust that sounds crisp when you tap it with tongs. If the oil drops too far, the coating absorbs grease; if it runs too hot, the outside browns before the inside cooks through.
Cooking the Sauce Until It Turns Glossy
Stir the orange juice, zest, sugar, vinegar, soy sauce, garlic, and ginger together over medium heat until the sugar dissolves and the mixture starts to simmer. Once the cornstarch slurry goes in, the sauce should thicken within 1 to 2 minutes and take on a shiny, lacquered look. If it stays thin, let it bubble a little longer; if it gets too thick, loosen it with a spoonful of water or orange juice.
Coating Without Losing the Crunch
Toss the fried chicken in the warm sauce right before serving so every piece gets coated, then move it straight to the plate. The longer it sits in the sauce, the softer the crust gets. A quick toss is enough — you want a glossy coating, not a bowl of soaked chicken.
Three Ways to Adjust Orange Chicken Without Losing the Point
Gluten-Free Orange Chicken
Use a gluten-free soy sauce or tamari and keep the rest of the method the same. Cornstarch already does the heavy lifting for the coating, so you don’t need to change the texture much — the main adjustment is choosing a sauce ingredient that keeps the salty depth without the wheat.
Air-Fryer Shortcut
You can air-fry the coated chicken at 400°F until crisp and cooked through, then toss it with the sauce just before serving. You won’t get the same shattering crust as deep-frying, but you do get a lighter version with much less oil and solid weeknight speed.
Less Sweet, More Citrus
Cut the sugar back slightly and add a little extra zest if you want a sharper orange flavor. That change makes the sauce feel brighter and less syrupy, but don’t remove too much sugar or the sauce loses the thick, glossy finish that helps it coat the chicken.
Storage and Reheating
- Refrigerator: Store leftovers for up to 3 days. The coating softens in the sauce, which is normal.
- Freezer: It freezes, but the fried crust loses most of its crunch after thawing. Freeze the cooked chicken and sauce separately if you want the best texture.
- Reheating: Warm it in a skillet over low heat or in the oven at 350°F until heated through. The microwave works in a pinch, but it softens the coating fastest, so use short bursts and stop as soon as it’s hot.
Questions I Get Asked About This Recipe
Orange Chicken
Ingredients
Equipment
Method
- Toss the chicken pieces in cornstarch, then dip in beaten egg, letting the excess drip off. Keep the pieces well coated for crispiness.
- Heat about 1 inch of oil in a skillet to 350°F. Fry the chicken in batches for 4–5 minutes, until golden and crispy, then drain on a wire rack.
- In a saucepan, combine the orange juice, orange zest, sugar, rice vinegar, soy sauce, garlic, and ginger over medium heat. Bring to a simmer, stirring until the sugar dissolves.
- Stir in the cornstarch slurry and cook for 1–2 minutes, until thickened and glossy. Keep it simmering gently so it coats smoothly.
- Toss the fried chicken in the warm orange sauce until fully coated. Work quickly so the coating stays crisp.
- Garnish with green onions and sesame seeds, and serve immediately over rice. Add the garnish right before serving for the best fresh flavor.